Showing posts with label kitchen. Show all posts

9.05.2011

Kitchen and Dining Nook

 
Picking up where we left off in the family room, let's head into the kitchen and dining nook.  If you remember from last time, the family room, kitchen, and dining are all in one big room in our house. 
I love the wall color in the kitchen, and the overall decor.  The door opens to a pretty decently-sized pantry.  I made the shade above the sink with some help from my mom.  The dining area could use a little bit of love.
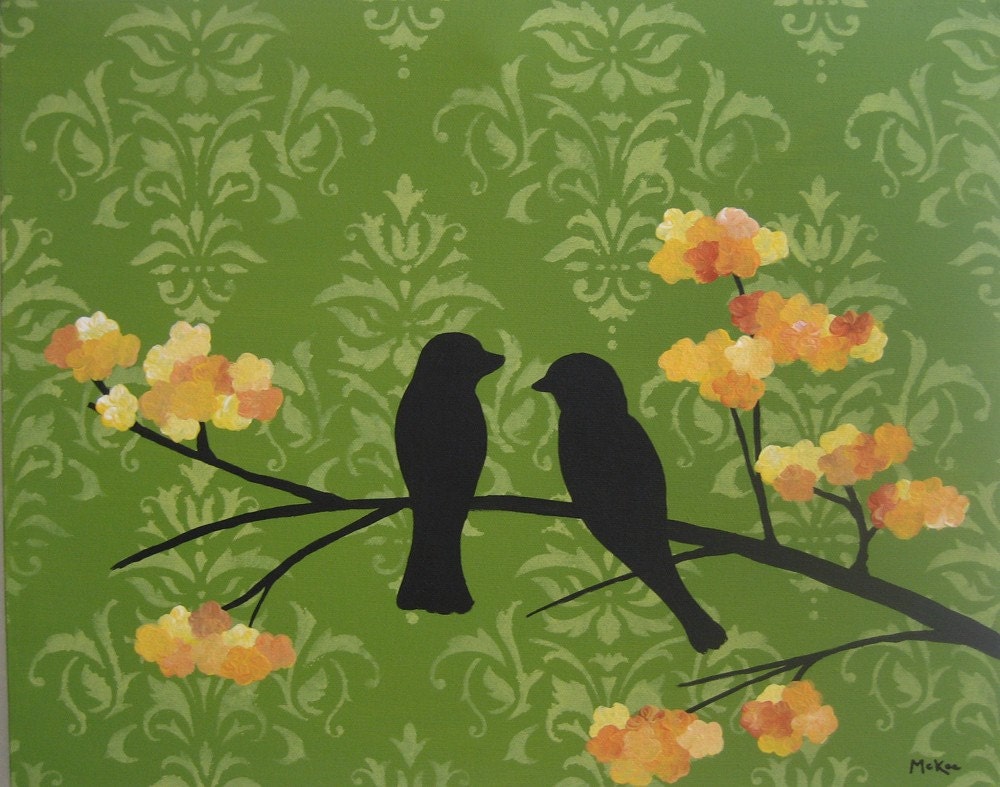
I would love to find a great old buffet to refinish for that wall, and I'd like to continue the green paint into the bay window.  I did the art myself, and the curtains in the bay.  I also refinished all the dining chairs about a year ago.  The high chair is a necessary evil.  I would love a better-looking one, but this one works great and was free, so I wasn't able to justify the cost on that one.  Here's a close-up of the art.  The background and branches are painted, and the flowers, birds, berries, etc. are all paper. 
Since that's all there really is to see in the dining nook, let's head back into the kitchen.  This is the view from the dining nook.
I don't have a ton of counter space, but the pantry and island help a lot with storage issues.
Here's a view of the kitchen that I see a lot when I am cooking and/or cleaning.  You can see my do-it-yourself knife magnet on the side of the fridge. 

Well, that's about it for the kitchen.  The only other rooms on the upstairs level that we haven't visited yet are the laundry room and the master bedroom and bathroom; and since we already visited the craft room in the basement, there is only the play room and giant unfinished family room to see.  Until our next visit, feel free to look back on all the other rooms we've seen so far.
Coming soon: bird nest necklaces, white chocolate cheesecake, and menu plan clipboard.

4.04.2011

Kitchen Curtains

The kitchen curtains are finished and hanging where they belong!  We did them the easy way, by using clip-on curtain rings, so we just had to make the rectangular panels to fit the windows.  For the curtain rods, I used three willow branches wrapped together with brown floral wire and hung them on the wall with brown cup hooks.  I had to buy brass cup hooks and spray paint them myself.  The tiebacks are from the brown curtains on this wall:
The kitchen bay is just to the left of these windows, so I used my leftover fabric to make these striped panels.  The bottom stripe is a solid green that matches the accents of the printed fabric, but that part is hiding behind the couch.  And yes, I still have some St. Patrick's Day decor up. 

As I mentioned before, the fabric is from the Cecilia line at IKEA, where they are selling off all of their remaining inventory.

I am so glad to have all these curtains done!  It really helps this giant room(kitchen, dining, living) feel more put together.  Next, I am going to paint the bay the same green as the kitchen and the other wall the same brown that I have used before.

I am planning to do a Summer Home Tour on the blog once I get everything in my basement arranged.  One of my biggest challenges will be figuring out how to photograph rooms with windows without getting the back-lit effect from the brightness outside.  Any ideas?
3.02.2011

Kitchen Curtains Preview

I took a spur-of-the-moment trip to IKEA today to snag some of this awesome fabric before it was all sold out. Me + toddler + baby = lots of work. Things went about as well as they could have, but by the end of the trip there was no room in the cart for the toddler, so I had to do the self-checkout while trying to keep her from running off. (WHY can there not be one cashier lane open?!) I even got enough fabric to make some striped panels for the other windows. . . just you wait and see!

I also found lamps for the master bedroom and a floor lamp for the family room. I was bold and got a purple velvet shade for the floor lamp. So far I still like it.

All in all, great trip! Love doing things I sometimes talk myself out of.

9.08.2010

Faux Roman/Tie-Up Shade with Matching Pillows

I finished the window treatment in the kitchen with a lot of help from my mom.  We had neither done this exact shade before, so we basically made it up as we went.  The sides are hemmed and the top and bottom were finished with bias tape.  

We had a little bit of leftover fabric, so the other day we made a couple of matching pillows for the couch; which, incidentally, was another thing on my list of projects.  
Thanks to my mom's stash of fabric and trim, we didn't have to buy anything to do the pillows.  I already had the forms, too.  

I was going to ditch my other pillows, but they actually look nice with the new ones!  We are hoping to get to work on the nursery this weekend.  I have started packing stuff up and moving it out, plus we set up the crib and changing table.  Our new glider should arrive early next week.  I am going to do my best to get before, during, and after photos of the process.

Here's the updated list (I love marking things off!)
  • Make fabric boxes for the new changing table (still looking for a great tutorial, will let you know when I find one!)
  • Finish fall wreath (work in progress!)
  • Paint birdcage cream or light yellow
  • Find a buffet to paint for the dining area
  • Get chairs for the front porch
  • Get potted plants for the driveway
  • Build shelves on either side of the washer and dryer
  • Take door off coat closet, paint, and put cubbies inside
  • New couch pillows
  • Install wall shelf in main bathroom
  • Refinish piano
  • Make some green frames to match green stained table
  • Fix leg on green table
  • Get or build a picnic table for the backyard
  • Sew kitchen curtain (work in progress!)
  • Sew changing pad covers
  • Make flower hairclips
  • Turn craft room into nursery
  • Laundry room makeover

7.22.2010

Kitchen Chairs

I recently overhauled my kitchen chairs, and the result was great!  Here's what they looked like before:
 And here is the after:
It was a bit of work, but soooooo definitely worth it!  I removed all the seats, cleaned and spray painted the wood, reupholstered the seats, and put it all back together.  I also added some extra batting and foam to the seat cushions when I reupholstered them, so they are also extra comfy now.  I was able to do all six seats for under $100.  The extra chair cushions were the most expensive part.  I got the fabric at Hancock's on a 40% off sale.  Here's a closer look at it:

6.14.2010

Dining Chairs Preview

I have a set of six of these dining chairs.  They are hand-me-downs that have been reworked before (they originally had rush seats), but I think they may still have some potential.  Although it isn't ideal for me to have upholstered dining seats with little kids around, I would rather redo these than buy a whole new set of six chairs right now.  

I have already glued felt circles to the bottoms of the legs like so:
My next part of the plan is to remove the seats, paint them black, and redo the upholstery.  

I am currently on the lookout for a great deal on foam and upholstery fabric! 

5.20.2010

Kitchen Art

Woohoo!  I'm back!  And I have something to show you:
The art for the dining wall in my kitchen is done!  A big thanks to my mom for helping me throughout the whole process.  We painted and stamped the background and tree, and the flowers are all hand-cut from scrapbook paper.

Now I just have to decide how to hang them on the wall.

3.16.2010

Creating a Beautiful Kitchen, Part Four

I have started looking around for some inspiration for my new art for the dining area of the kitchen.  Here is what I have found so far.  Click on the links below the photos to see where I found them:

So that's what I'm working with for now.  I like the green and yellow on white theme.  I'm still not sure how it will turn out, but it's a start!

3.11.2010

Kitchen Paint and Cabinet Decor

Ta-da! The kitchen painting is done. I also acquired some pieces for above the cabinets, some from the store and others from around the house. I am amazed at how much of a difference it makes to have stuff up there. It feels so much better! I love the lemons up top, and they really tie in with my artwork and my pale yellow Kitchen-Aid. Above the cabinets, you will also see some tin pieces, green ceramic canisters, a cream vase, a brown wooden sign, and juniper garland.

Here's the before shot just to remind everyone how boring this kitchen used to look:
Here are the after shots:


I am still considering doing new artwork for the dining wall, as well as some wooden spoons or something above the stove or next to the pantry door. Here is the updated list of things I want to do for the kitchen:
  • Paint
  • Figure out some kind of decor for above the cabinets
  • Get my linens coordinated/pared down
  • Find some new wall decor
  • Organize the counter tops
  • Finding a new dining table/chairs or (most likely) redoing the current ones
Here are a few things I would like to add to the list now that I am further into the project:
  • Get some great new centerpieces
  • Find or make a new tablecloth
  • Organize the top of the island
So far I am loving what I have done.  It is already hard to imagine it how it used to look.  I am thinking I will probably start on the artwork/wall decor and island organization next.  Next Tuesday, I will post some artwork inspiration photos, and we'll go from there.

3.02.2010

Creating a Beautiful Kitchen, Part Two


Here's the update on our painting so far. We have coated the dining area twice, but there are still a few spots that need another coat. The pantry door area has one coat, and we still need to do around the cabinets and behind the stove and fridge. I love how it is looking!

All of the photos of accessories that I posted last week are clickable to get to where I found them. So just click on the photo, and it will take you there!

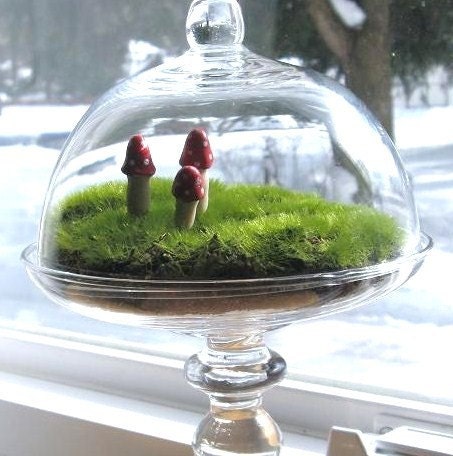
No, I don't actually own any of those items, but I am hoping to get the terrarium or one very similar for Mother's Day.

Hoping, but mostly hinting. Lots of hinting.

2.23.2010

Creating a Beautiful Kitchen, Part One


I want a beautiful kitchen, don't you? Luckily, I already have wonderful granite countertops, glazed alder cabinets, and brand new stainless steel appliances. A great starting point, I think.

But. It's not mine. I didn't really make any of those decisions. I am going to make it mine, and I am starting a new mini-series for Tuesdays to chronicle my process of making a gorgeous kitchen where I love to spend my time.

Step One: Paint

I finally decided on a color for my kitchen wall: Moss Green.
I have already tested the color on the wall and purchased the gallon of paint. So this week's project will be to paint the walls. Next Tuesday, I will post photos of the paint job.

Other things I will be doing in the kitchen:
  • Figuring out some kind of decor for above the cabinets
  • Getting my linens coordinated/pared down
  • Finding some new wall decor
  • Organizing the counter tops
  • Finding a new dining table/chairs or (most likely) redoing the current ones

2.16.2010

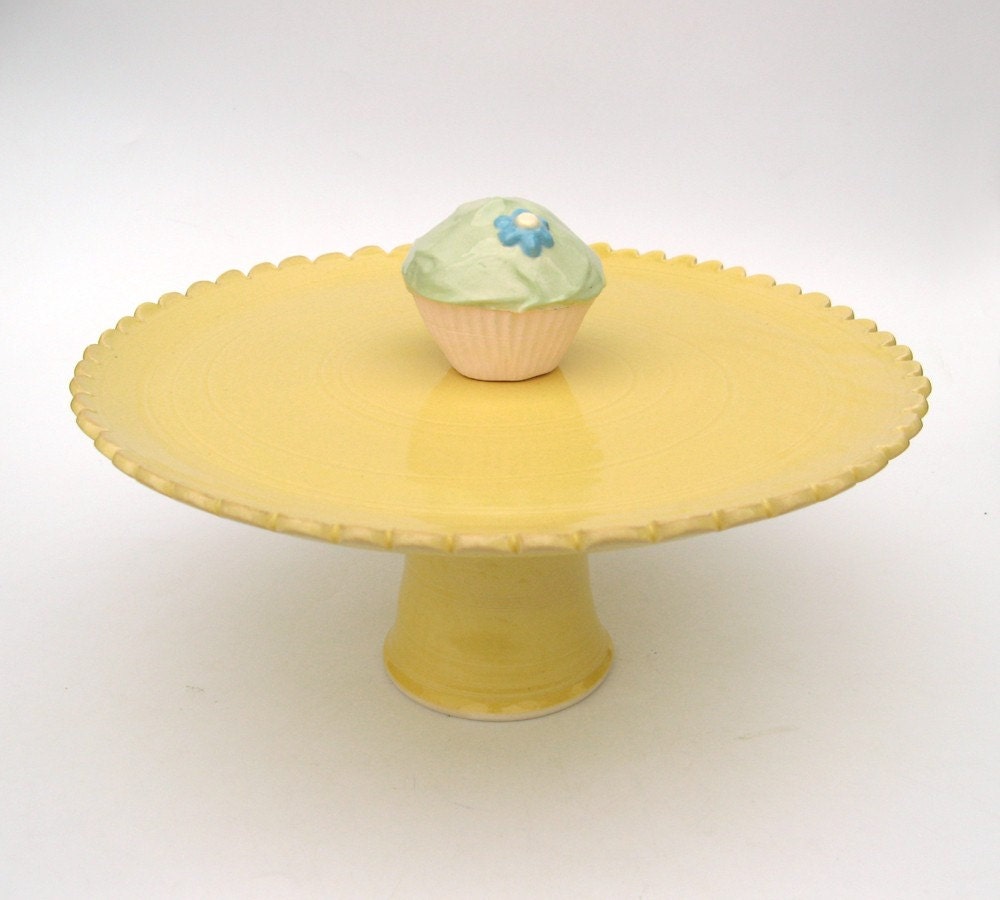
Feature: Cake Stands


I have a very strange love of cake stands. There. I said it.

Sadly, the practical side of me says, you only need one. One? I only get one? Are you serious? But mine doesn't even have a cover! How can I live without a covered cake stand?

Okay, you can have two
. Thankfully, my mom doesn't have the same problem and has donated her covered cake plate to help fight my craving.

Yeah, it's probably for the best that I don't have five cake stands. But I do still love to look at them.