Showing posts with label csi top ten. Show all posts

3.13.2012

Faux Weathered Metal Letters

As part of my master bedroom revival, I revamped my little A and C letters.  Here's what they looked like before:
I had painted the sides black and decoupaged cute black and white scrapbook paper on the front.  It was cute, but we were overdue on an update.  I was able to get most of the paper off, but some of the paper didn't come off.  Due to the nature of the letters, I could have just flipped them around and painted them.  Since I would be able to flip them over if I didn't like it, I decided to try an experiment and see if I liked it.  (Story of my life.)
I sanded the rest of the paper off with low grit sandpaper (very coarse).  I sanded in the direction of the lines, meaning I sanded the direction that I would write the letter.
After I sanded the front of the letters, all I had to do was hit them with a few coats of Rust-Oleum's Hammered Metal spray paint in silver.  So easy!  I am in the process of hanging these with a new focal piece above the headboard, plus I have a couple of new spring projects to work on.  I also finished a couple more decorative pieces for the master bedroom that I am really excited about.
Linked up: The CSI Project

10.12.2011

Wooden Candy Corn Hanger

This autumn, I decided to try something different for my front door.  And since my crafty friend Cami suggested that we make wooden candy corns, I thought it would be a perfect fit for new front-door decor.
We pretty much made it up as we went.  The tools we used that made it all possible were my husband's fancy miter saw and cordless drill, my orbital sander, and a pair of pliers/wire cutters, not to mention our paintbrushes and such.  For this project, we kept things simple and bought pre-primed 6" trim from Lowe's and just cut it to length.
The bottom piece is 12", the middle piece is 9", and the top piece is 6".  We cut each side on a 75 degree angle to meet up with the next piece(the measurement we used on the miter saw said 15 degrees, but it makes more sense to me to say it the other way).  Then we drilled the holes for the wire and sanded all our edges.  We used plain old acrylic craft paint to paint each piece.  The colors ended up pretty bright, so I rubbed a little bit of stain over the top of the paint after the paint was dry to tone the colors down.  Next, I wired all the pieces together, added some felt furniture pads to the back to keep it from scratching the door, and finally hung it up!  We were able to pretty much finish this project up in a day.
Linked up: The CSI Project, Tatertots & Jello

EDIT:  I made the top 10 in Krylon's painted Halloween projects challenge!

8.11.2011

Backyard Pergola

I'm so excited to share a project that we have been working on for about a month now, but that I have wanted for much longer.  Since we live in a new subdivision, there is not a lot of shade to be had outside.  We have planted a lot of trees in our yard, but they are all still pretty tiny.  We have a concrete pad in the backyard, right outside the kitchen and family room.  I didn't take a great before picture, but this kind of gives you the feel of what it was like outside.
Pretty barren.  But still cute kids.  In an effort to create more shade, backyard atmosphere, and possibly privacy, we designed up a heavy-duty pergola.
Each of the 4"x6" posts is set in concrete, and all the 2"x6" beams on the top are notched to fit on the 2"x8" support beams.  The 2"x2" pieces on the very top are screwed down with decking screws.
The curtains are outdoor panels from Pottery Barn that are hung on a galvanized pipe from Home Depot.  They are perfect for shade in the evening.
I love how much of a difference this makes in our backyard.  We almost ran into some trouble on the post closest to the house, but everything worked out perfectly.
We just had to notch a few of the bigger beams to fit under the roof, but the pergola is still tall enough that it doesn't block the porch light.

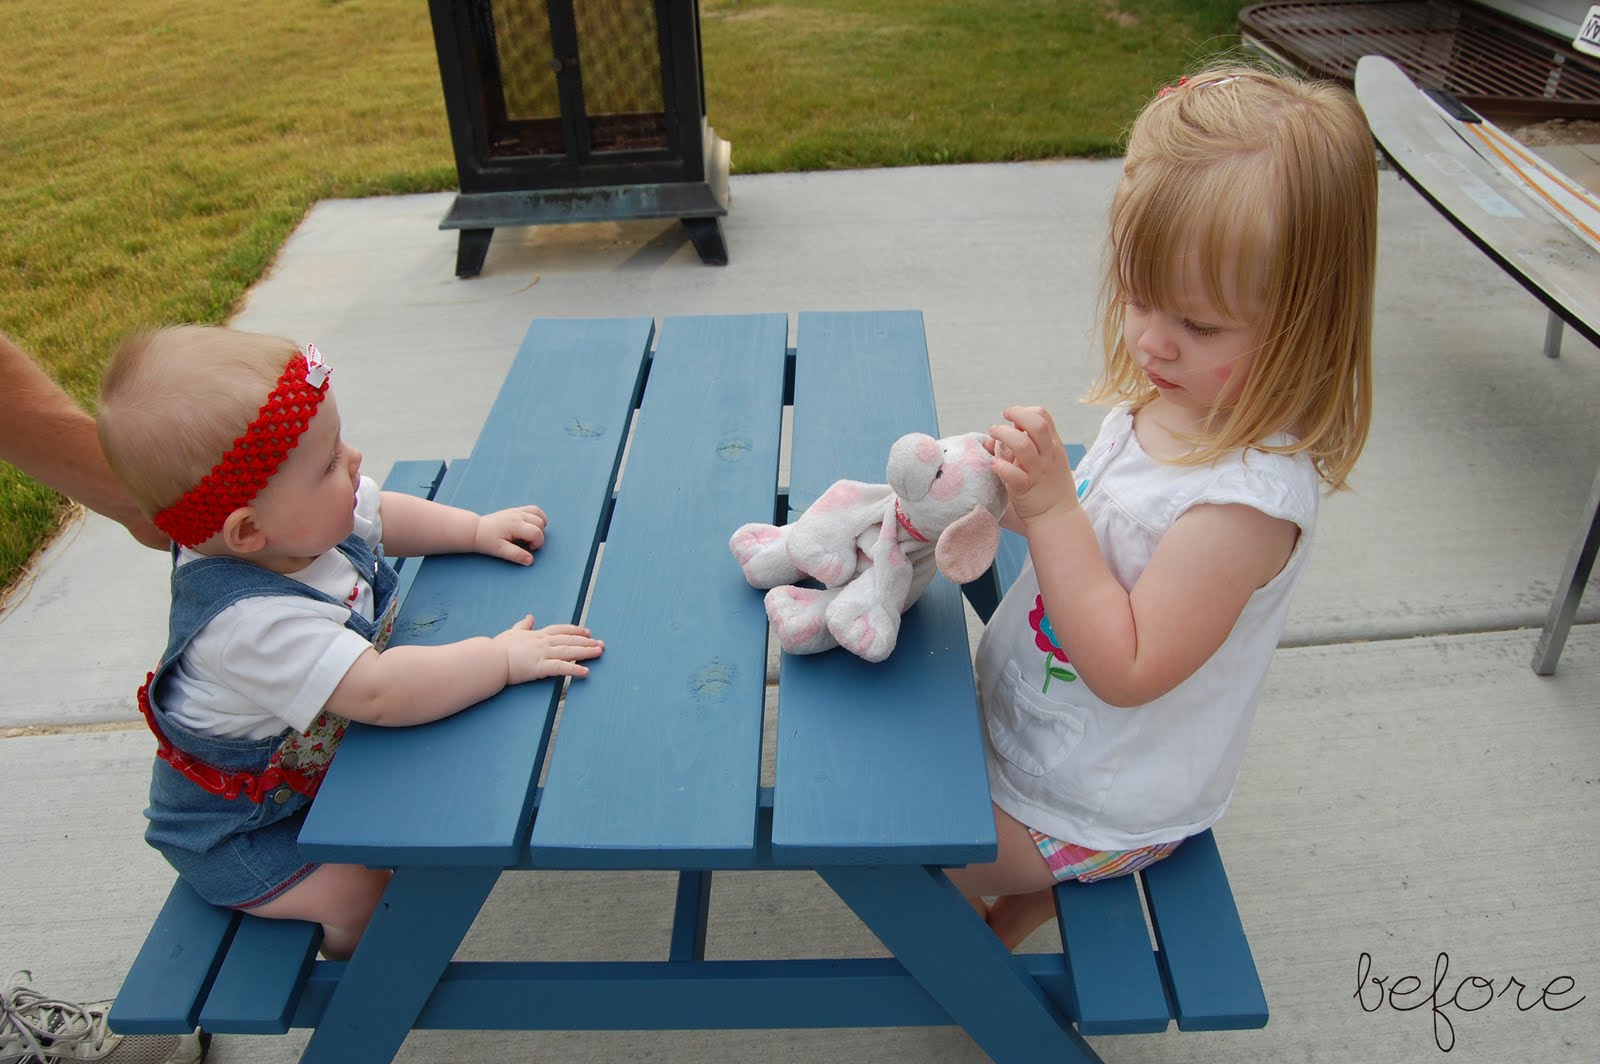
I am still waiting for some shade cloth to come in the mail, which we are going to hang under the beams on the inside.  We eventually want to have some flowering vines grow over the top, but until them we still want some shade during the day.  Next step for the backyard-- make an outdoor dining table!
UPDATE: We made it in the top 10 of the Porches, Terraces, and Patios Challenge at the CSI Project!
Linked up: Tatertots & Jello
Visit thecsiproject.com

12.08.2010

Pennant Banner

The nursery wall decor is finally complete!  I made the pennant banner with our baby's name a couple of weeks ago, and I just barely got around to hanging it today.  I also hung four 8"x10" photos that we took and had printed.  You can see a couple of them in the photo above and in the last photo. 
For the pennants, I used fabric remnants from her quilt and car seat canopy.  Each piece was ironed onto fusible interfacing for sturdiness, both visual and physical.  I used heat-transfer vinyl with flocking for the letters.  It was my first experience using it, and it was super easy to cut the letters on my Silhouette and iron them onto the fabric.  The edges were trimmed with pinking shears, then all the pieces were sewn onto a long piece of brown satin ribbon.  I really love how it turned out, and it fills in that wall very nicely.
My mom found some flowers for the awesome yellow vase that I got at IKEA.  I finally feel like the little details are finished!

I've finished and hung a winter wreath chandelier above our dining area that I'll be sharing later in the week.


Linked up:
Visit thecsiproject.com