With our third baby girl (who is now a whole month old!), we didn't repaint the nursery. Mostly it was because I couldn't face the task with our basement finish going on and being pregnant, but I also thought I might be able to work with the blue. I decided to go with blue, raspberry pink, and white, which is pretty similar to what I already had going on. I am using this nursery as inspiration. The whole project is really just getting started, and to kick it all off I made this wall art using the new Detailz Dies from Lifestyle Crafts.
Detailz Dies are cutting dies that cut and emboss in one pass when you use thick paper, plus you can use the die as a stencil. I used the Banners set, and I love how it turned out! I also used letterpress paper, which is thick enough to do the cut and emboss at once. The blue and pink banners are letterpress paper that I covered with washi tape first. I strung the banners on embroidery floss and added a sweet little initial. So cute and easy!
Also, don't forget to use promo code "AUDZIPAN" for 20% off your order at Lifestyle Crafts.
Showing posts with label art. Show all posts
4.22.2013
4.17.2012
Important Dates Artwork
As part of my master bedroom decor, I whipped up this easy poster print. The idea comes from A Steed's Life, but as usual I have tweaked it to my liking. All I did was type up our family's favorite dates in Photoshop, get a 16"x20" poster printed at Walmart, and pop it in a barnwood frame.
Done! I love using poster prints because you can get a pretty huge print for pretty cheap. This size was only about $12. The font used for this is a free font named Modern No. 20. I love the personal touch this gives our room.
Labels:
art,
dates,
design,
family,
graphic design,
home decor,
master bedroom
10.27.2011
Birch Trees Art
I finished painting these birch tree canvases for our master bathroom a couple of weeks ago. It took a little bit longer than I expected, but the extra work was definitely worth the work to get the look I was going for. Originally, I was going to do these two-toned, but it never looked quite right. Once I changed the stripes on the trees to black, added slight shadows, and washed the grey with a slightly darker grey, things really looked better! Here's a close-up:
I used a white paint in gloss and the other colors in matte to give another dimension to the pieces, but you'll have to wait to see that part of it until I finish up the rest of the master bathroom. Since these are hung in our bathroom, I sprayed the canvases with two coats of matte artwork sealer to protect them from condensation and splashing water.
Once we finish caulking the new trim, I will be able to get home tour photos of the master bathroom! Also, the piano bench re-upholstery project and painting the hallway to the garage purple are finished, both with amazing results. We also found some great Craftsman style knobs on clearance at Lowe's for our kitchen cabinets and installed them. We had a very productive weekend last week, and I can't wait to show you all of our recently finished projects.
I used a white paint in gloss and the other colors in matte to give another dimension to the pieces, but you'll have to wait to see that part of it until I finish up the rest of the master bathroom. Since these are hung in our bathroom, I sprayed the canvases with two coats of matte artwork sealer to protect them from condensation and splashing water.
Once we finish caulking the new trim, I will be able to get home tour photos of the master bathroom! Also, the piano bench re-upholstery project and painting the hallway to the garage purple are finished, both with amazing results. We also found some great Craftsman style knobs on clearance at Lowe's for our kitchen cabinets and installed them. We had a very productive weekend last week, and I can't wait to show you all of our recently finished projects.
Labels:
art,
birch tree,
home decor,
master bathroom,
tree
10.15.2010
Pennant Wall Art
We hung the pennant wall art that I made for the baby's room, and it looks fab!
The stripes are painted, the flags are scrapbook paper, and the strings are ribbons. The paper gives it a lot of dimension, and the ribbon adds some fun texture. The room feels a lot more complete on that side as well.
Labels:
art,
home decor,
nursery,
pennant
5.20.2010
Kitchen Art
Woohoo! I'm back! And I have something to show you:
The art for the dining wall in my kitchen is done! A big thanks to my mom for helping me throughout the whole process. We painted and stamped the background and tree, and the flowers are all hand-cut from scrapbook paper.
Now I just have to decide how to hang them on the wall.
3.16.2010
Creating a Beautiful Kitchen, Part Four
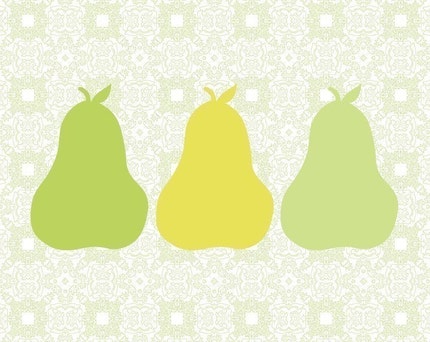
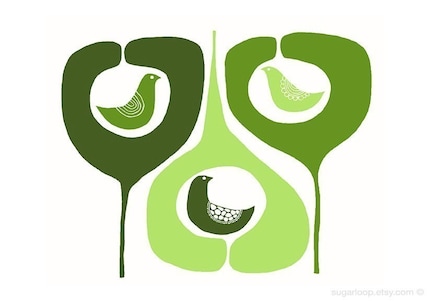
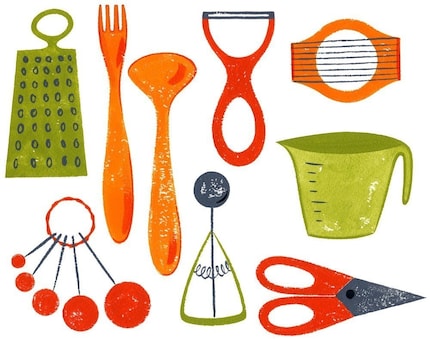
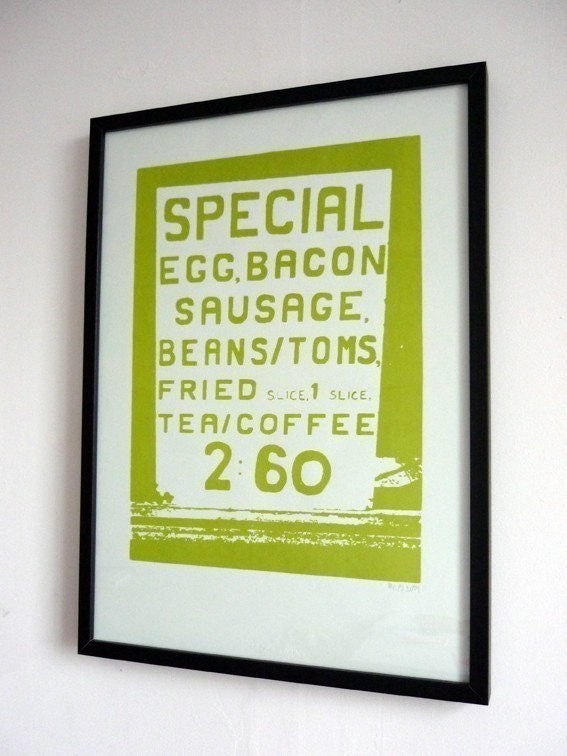
I have started looking around for some inspiration for my new art for the dining area of the kitchen. Here is what I have found so far. Click on the links below the photos to see where I found them:
So that's what I'm working with for now. I like the green and yellow on white theme. I'm still not sure how it will turn out, but it's a start!
Subscribe to:
Posts (Atom)