2.26.2010

Feature: Clothed Much

I was recently introduced to Elaine from a blog called Clothed Much. Elaine describes herself as follows:

"Hi. I am Elaine. I am LDS. I am a poor, married college student. I like clothes, but don't have much...as you can see from my closet. So this blog is here to help me be more creative with what I already have."

Elaine shows us how she pairs the unexpected, then she tells us where she got it all!


I really like reading blogs that inspire me. This is one of those kinds of blogs. Great photos, great writing, and a great gal behind it all.

I loved her blog so much that I decided to advertise with her on Clothed Much. Look for my button on the right-hand side of her blog near the top.

2.25.2010

Truffle Brown Wall

I mentioned earlier this week that I painted a wall in my great room chocolate brown. I love how it turned out! The pictures don't do it justice, but here they are anyway. I also put up a wall shelf that I spray painted Kona Brown. It has a lot of the same undertones as our piano and a side table we have by the couch.I also put a stack of books in the birdcage to keep them away from my daughter's curious hands, but I was really pleasantly surprised with how this turned out:
I stuck a bird and a set of decorative keys on top of the books. Things are really coming together in this room. The paint needs a bit of touching up in spots, but I'm so glad to have something new going on.

2.23.2010

Creating a Beautiful Kitchen, Part One


I want a beautiful kitchen, don't you? Luckily, I already have wonderful granite countertops, glazed alder cabinets, and brand new stainless steel appliances. A great starting point, I think.

But. It's not mine. I didn't really make any of those decisions. I am going to make it mine, and I am starting a new mini-series for Tuesdays to chronicle my process of making a gorgeous kitchen where I love to spend my time.

Step One: Paint

I finally decided on a color for my kitchen wall: Moss Green.
I have already tested the color on the wall and purchased the gallon of paint. So this week's project will be to paint the walls. Next Tuesday, I will post photos of the paint job.

Other things I will be doing in the kitchen:
  • Figuring out some kind of decor for above the cabinets
  • Getting my linens coordinated/pared down
  • Finding some new wall decor
  • Organizing the counter tops
  • Finding a new dining table/chairs or (most likely) redoing the current ones

2.22.2010

Lazy Monday

Hey. I had a lazy day today. Like, lay-on-the-bed-for-ten-minutes-at-a-time-doing-nothing lazy. I promise to have another project idea posted next Monday. Last Friday I was painting a wall a lovely, deep, chocolatey brown, hence no post then either. I love the wall, and I will let you get a peek of it this week.

Stay tuned for more posting this week. . .

2.18.2010

Feature: Branch and Twig Chandelier by Jessedirk

I have had my eye on this chandelier from Jessedirk for a while. My entry really needs something above the stairs to the basement, and this is the only chandelier of its kind that I have seen. It's one of the only chandeliers that my husband actually likes!

I will most likely end up making my own, considering that it costs $525. It's definitely still going to be a huge source of inspiration during the project.

I'll have to find an old chandelier, and I will probably go without the cotton. I might add something else in its place, because I like the spiral line the cotton has.

2.16.2010

Feature: Cake Stands


I have a very strange love of cake stands. There. I said it.

Sadly, the practical side of me says, you only need one. One? I only get one? Are you serious? But mine doesn't even have a cover! How can I live without a covered cake stand?

Okay, you can have two
. Thankfully, my mom doesn't have the same problem and has donated her covered cake plate to help fight my craving.

Yeah, it's probably for the best that I don't have five cake stands. But I do still love to look at them.

2.15.2010

Tissue Paper Pom-Poms

Tissue Paper Pom-Poms. . . These are great for parties, holidays, and even permanent decor.

I found my first tutorial online from Martha Stewart. I use dental floss instead of floral wire to tie them off, then I can make the floss extra long for hanging from the ceiling.

Once you make a few of these bad boys for yourself, you won't even need the tutorial. It's that easy.
As you can see, I used a few sheets of different colors of pink for the one for my daughter's room (top). For a Halloween party, I used printed seasonal tissue.

I love using these pom-poms to decorate, because they are fairly inexpensive to make (think $.50-$1.00 each), they are quite well-sized (think large beach ball), and they make a huge impression!

I have also seen these used as centerpieces and sized-down as napkin rings.

So mix it up, have some fun, and party on!

2.12.2010

Valentine's Day Birthday Party

Conversation Heart Smash Cake
In honor of Valentine's Day, I will be doing something a little different for today's Feature Friday. I had a Valentine's-themed party for my daughter's first birthday, and I wanted to share some photos of the food, decor, and fun!
Overall Party Vibe
Heart-shaped Bendy Straws and Cello Treat Bags
Candy in Take-out Boxes to Make Your Own Treat Bag
Conversation Heart Cupcakes
This girl know her way around a cake!
Here's the birthday girl playing with her profesh rhythm egg from Uncle T and sporting the personalized shirt I made for her.

Happy Birthday!

2.10.2010

Kitchen Repaint and Hallway Coat Rack

Today's topic is home decor. Specifically, my home's decor. We recently moved into our house, and it was brand new to begin with, even though we didn't build it. Over the months, we have painted a couple of rooms, finished part of the basement, and worked at getting a sprinkler system and grass in the yard.

We recently finished a project that I have wanted to do for a couple of months. In the hallway from the kitchen to the garage, we put a coat rack along the wall. It looks so wonderful, and it really is quite useful. Here is a photo:
I can't take all the credit, though. It was my neighbor Jennifer's idea.

I am to the point that I want to paint my kitchen, but I can't decide what color. Blue? Green? Something else entirely? I feel kind of burned out on picking paint colors. Here's what it looks like (ignore the inspector guy, and imagine our stainless steel fridge):
What do you think?

2.08.2010

Etched Numbered Glasses


This morning I am going to tell you a little bit about a project I recently did. First off, I'll give you a little bit of background info.
  1. There are currently four adults and four children living in our house.
  2. My wedding set of glassware is down from 18 pieces to 9.
  3. The dishwasher runs a lot around here, and the top shelf is usually the fullest, packed with plastic kids dishes and bottles.
In an effort to keep me from having to do the dishes every five seconds, I thought of an idea to help us remember whose glass belongs to whom.

This project required the use of my digital cutter, some pieces of vinyl, and some etching cream. I used the cutter to cut the numbers in the vinyl. I pulled the actual numbers out of the vinyl, then I put each vinyl piece on each different glass and used the vinyl as a stencil for the etching cream.

Overall, the whole project took me about an hour. I am super pleased with the results. The etching is subtle enough that it isn't totally obvious at first, and now I always know which glass is mine!

2.05.2010

Feature: Valentine's Day Party


Do you ever see something that just makes you feel all happy and festive?
I love holidays, so this happens to me quite frequently. Today's feature will be a few of my favorite festive Valentine's Day items. I hope you enjoy them as much as I do!

2.03.2010

Feature: Love Birds Bowl


I found this sweet personalized bowl at ElmStudiosOnline on Etsy. What a perfect Valentine's Day gift this would be! And even if you don't have time to order on for Valentine's, there's always Mother's Day, Father's Day, or your anniversary.

My usual gripes about personalized stuff are that is looks mass-produced, takes forever, and costs a fortune.

Luckily, this piece is completely different! Because it is handmade, this bowl looks, well, handmade. Also, it only takes 5-10 days for your bowl to be made, and (this is my favorite part) it is only EIGHTEEN dollars!

Here's what Elm Studios says about it: "This adorable clean cut bowl is hand etched with the couples names imprinted above the two love birds and a special date imprinted below. Perfect for any romantic out there to hold rings or any other little treasures."

I am really considering getting one of these cute bowls. Really. I think you should, too.

Look at all these other great options:

2.02.2010

Feature: Reese's Cremes

Ok, I know, this is not really creative or anything. BUT! I have a small disclaimer. We are in the final throes of finishing part of the basement ourselves, and I have been a bit tied up with finish work. I originally intended the Tuesday Treat to be a recipe or kitchen-related post.

However.

Today's Tuesday Treat is a new kind of candy that I recently had the opportunity to try: Reese's Peanut Butter Cremes. These bad boys are everything you would expect from Reese's: chocolatey-peanut-buttery goodness. The twist on these is that the peanut butter inside is creamy instead of crumbly.

Verdict?

They reminded me of the peanut butter Treasures. Very similar, in fact. Also, I am already a lover of Reese's Peanut Butter Cup Miniatures, and in turn I am quite partial to the crumbly PB.

So, in other words, I would definitely eat them if they were around. Would I buy them specifically? Nope.

Here's where you come in. . . Have you tried them? What do you think? If not, would you go buy some just to try them? Or would you just do what I did, and wait for someone to share with you?

2.01.2010

Blog Carnival: Touching Art


Today I am guest-posting on Dirksen Dabbles, participating in her blog carnival. Here's how it works:

"A blog carnival is formed by putting together thoughts on one issue from several different bloggers in one blog post. Each blogger has individually made an entire post on the subject in their personal blogs. I have gathered together the best of each for some fantastic views and opinions. Please visit the participants blogs to read their full thoughts (photos have links to etsy shops as well)."

So here is my piece. The topic is
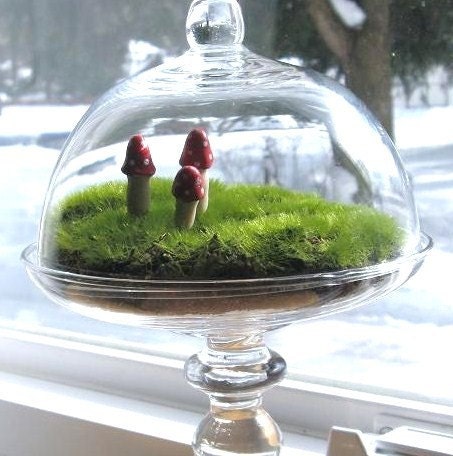
 Touching Art.

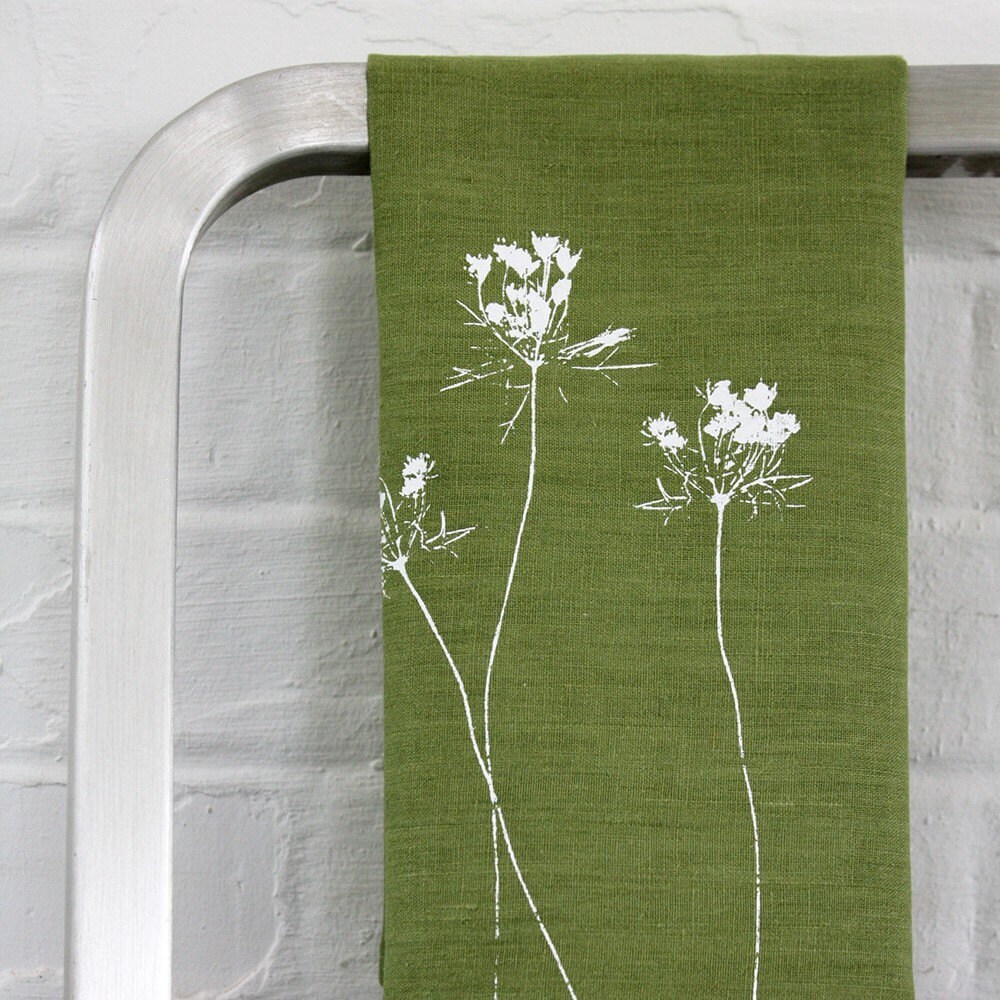
Screen printing is really a hands-on kind of art. A lot of my products are printed onto clothing, accessories, or homer decor, so they have to be able to stand up to repeated washing, wearing, and general use. People want to get a feel for how the ink will feel while they are wearing a t-shirt or sitting next to a pillow on the couch, so touching is completely encouraged for my particular art form.

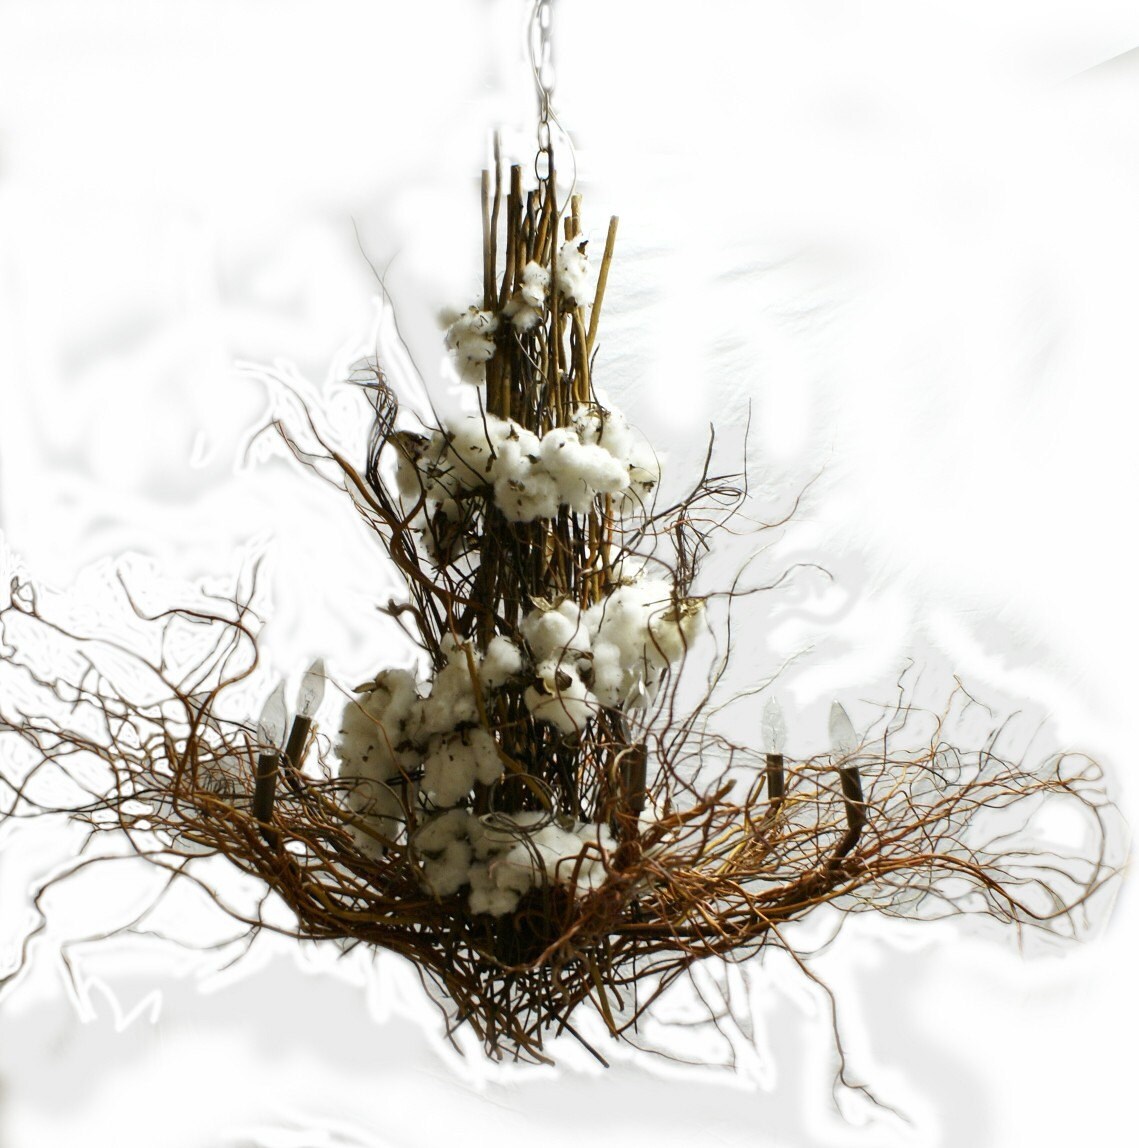
I try to take close-up shots of my work so people can get a virtual feel for the different aspects of the pieces online. Many of my items are multi-dimensional, with different types of materials and processes all blended into one thing, so even close-up shots have a hard time depicting the intricacies of some of my work.

My Cherry Branch Messenger Bag, for instance, is actually a piece of fabric with the cherry branch design printed onto it and appliqued onto the bag, instead of a two-color print that it can look like in far-away shots. Also, I take photos at an angle to show off the textures a little bit better.

I use three different methods for printing:
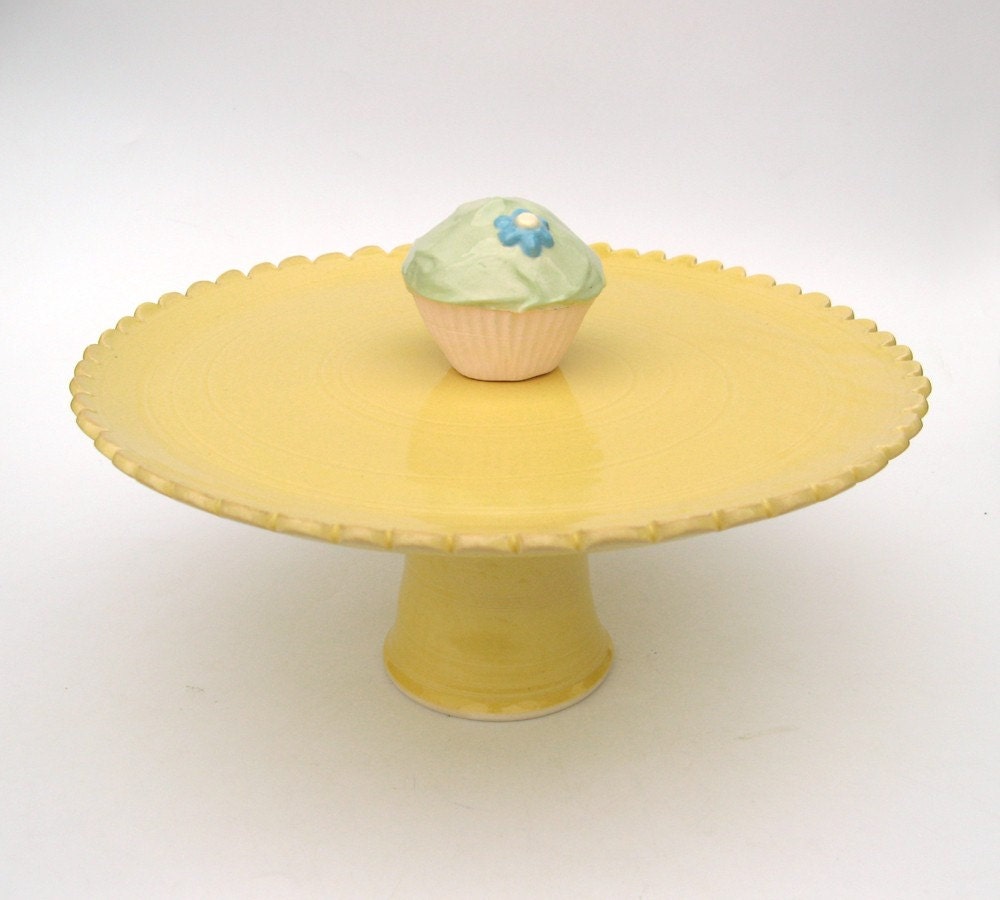
1. My tabletop mini-printer, known as a Riso Gocco. These machines have been discontinued, and they will only print a small-sized project (about 4"x6"). I use this machine to print my Wooden Decor Blocks. These screens are made for repeated use.
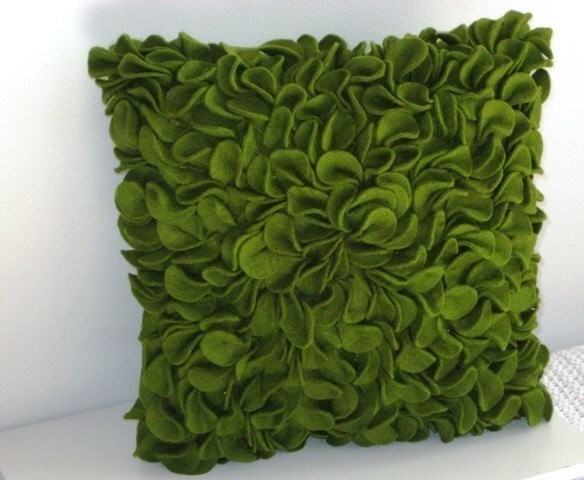
2. I have a four-color single station screen printer that I use for printing my t-shirts, messenger bags, and pillows. I normally use a 20"x24" screen with this printer. Each color of each design requires its own screen, so these are usually general designs that I can use over and over again.
3. Cardstock stenciling. I have a digital craft cutter that I will soon be using to cut stencils for personalized shirts. This is a little bit different than my usual methods, but it is the only feasible way to do personalization.


I hope you enjoyed my piece. Visit Dirksen Dabbles to read the rest!
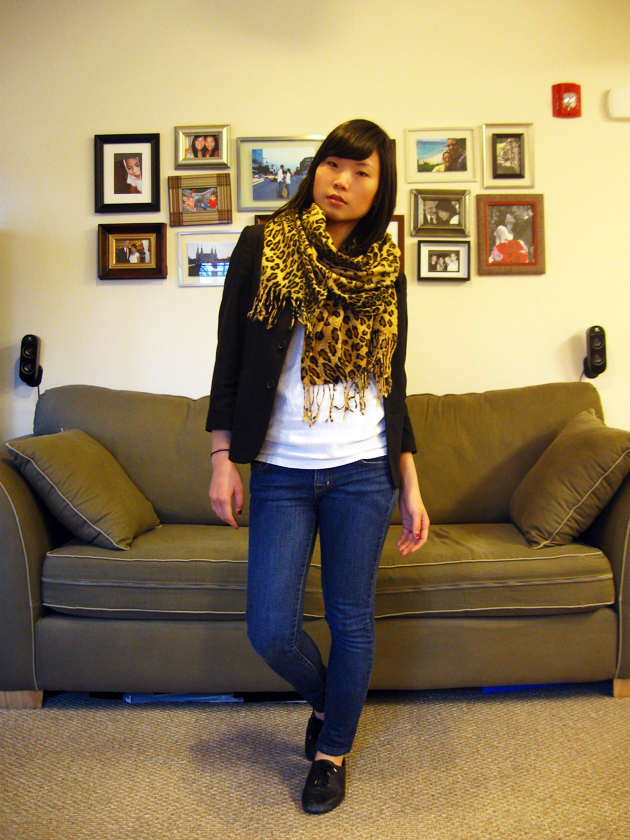
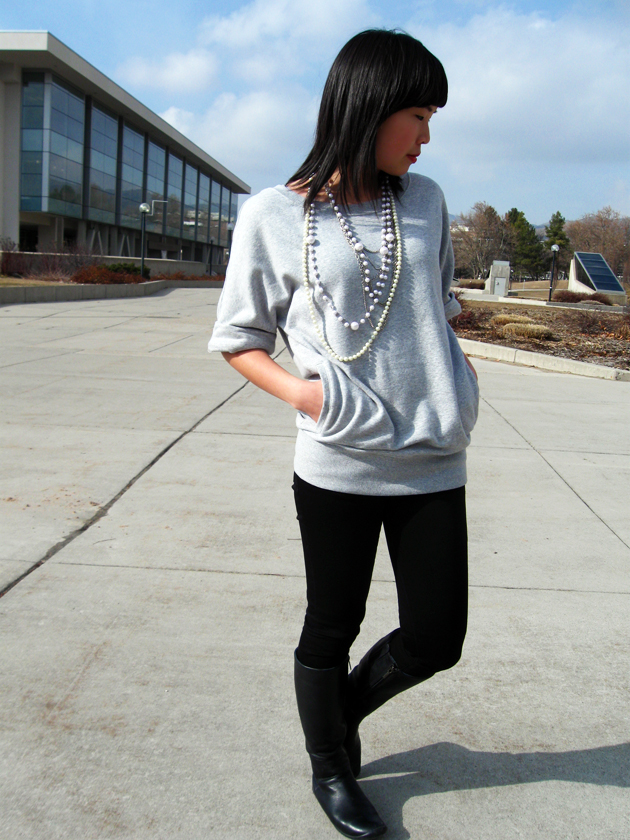
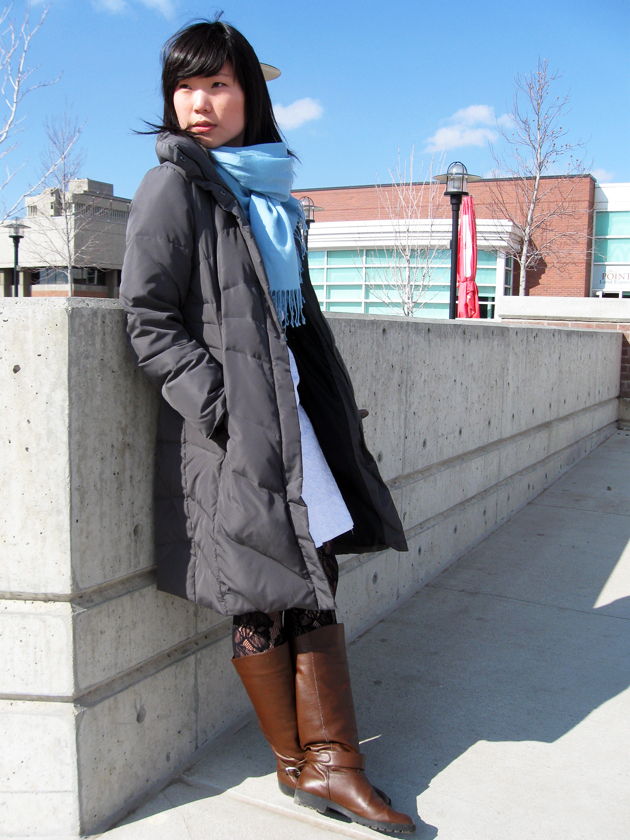