Easter is fast approaching, so with that in mind I bought these unfinished wooden egg cutouts from Wood Creations and gussied them up. I am not always huge into wood crafts, but these were just too cute to pass up! I also had a lot of fun with the design and method on these.
I got all my supplies at Hobby Lobby, which include the paint, ribbon in a scrap pack, scrapbook paper, and that awesome flocked glitter. Isn't that just neat? First, I painted each egg with about three coats of acrylic craft paint. Once that was dry, I decoupaged the paper onto each egg. Next, I did the flocked glitter. I used a Martha Stewart ball point glue pen (best idea ever) and drew a line of glue along all the paper edges. I spread the flocked glitter along the glue and kind of pressed it down to make sure it got glued evenly.
As a finishing touch, I tied lengths of ribbon around each egg. On the two biggest eggs, I tied little extra pieces around the knot to give it a little bit more substance.
I just love how bright, fun, happy, etc. these little babies are. Who else is super excited for Easter now?!?
Showing posts with label seasonal decor. Show all posts
3.26.2012
2.22.2012
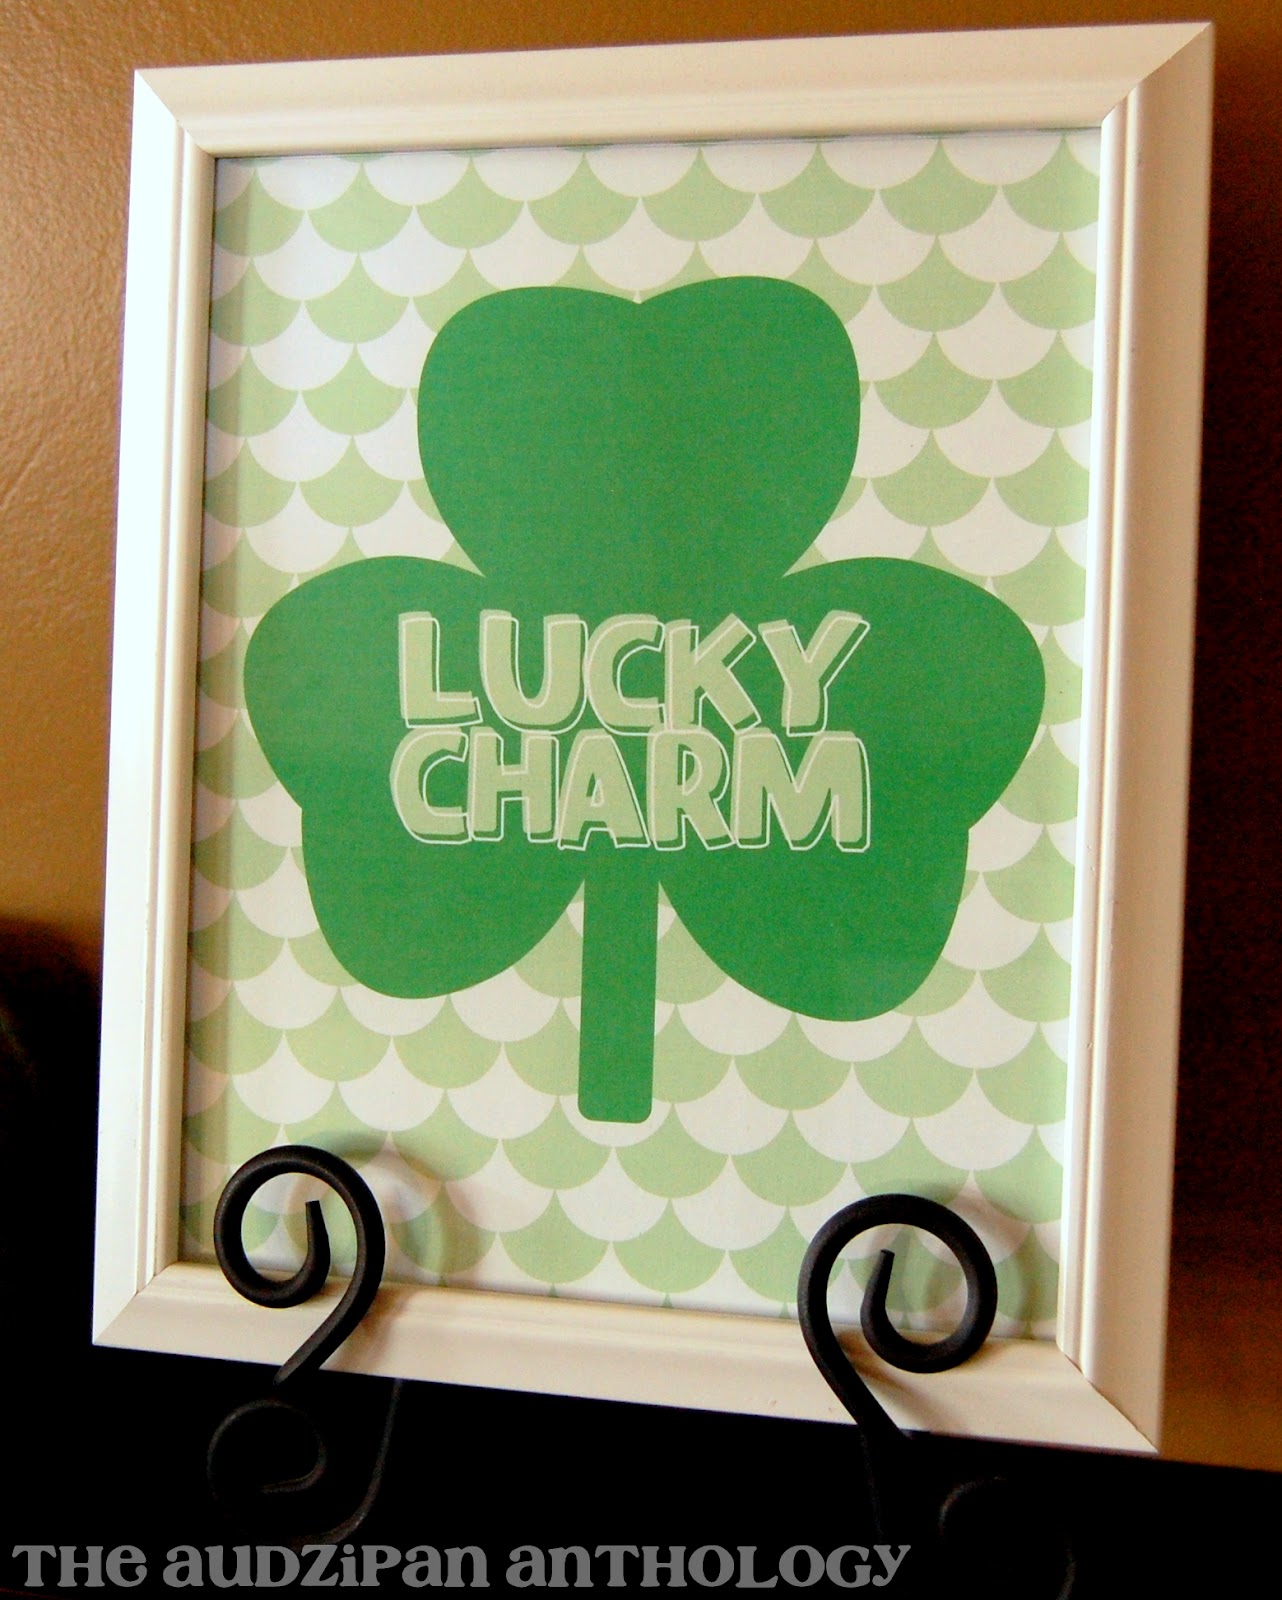
St. Patrick's Day Lucky Charm Printable
It's time again for the free printable of the month! Everyone needs a lucky charm for St. Patrick's Day, and it doesn't get easier than this. With the scalloped background, this one looks a lot better in a frame. You can either get a document frame, or just grab an 8"x10" frame and trim the paper down, which is what I did. I took 1/4" off each side and 1/2" off both the top and bottom to fit it in the frame.
As always, my printables are free, but please give credit where credit is due. To download the printable, click on
the image. It will take you to a
new page, where you can right-click and save the photo. Then, just
print the image the original size, and it will be ready for use. You
can frame it, put it in a tabletop easel, hang with
clothespins, or whatever else you can come up with! Any questions or
requests? Send me an email or just leave a comment.
Linked up: Six Sisters Stuff, Classy Clutter, Tatertots & Jello
Labels:
free,
green,
home decor,
lucky charm,
printable,
seasonal decor,
st. patrick's day
12.06.2011
Felt Mitten and Stocking Advent Calendar
It took a little bit more time than I planned for, but once I started blanket-stitching the mittens and stockings, I knew it was going to look great. All of the embellishments are hot-glued down, but I did do some detail stitching on some of them before I glued them down. I didn't filled the mittens and stockings this year, since I don't think the twine would be able to hold that much weight. I have each end tied to stocking holders, and the tray on top of my piano is holding the middle part. Next year, I think I will put slips of paper in each mitten or stocking with either a treat for the day or a Christmas activity.
For the 25th, I did a star on a circle medallion thing. It doesn't have a pocket, because the countdown is over at that point, but I thought it needed to be there. I just pinned it to the twine with a straight pin.
Want to make your own? Here's the pattern I made for my mittens and stockings. Click on the photo, right-click to save, and then you can print it and cut the patterns out to do your own. Just make sure that you print without scaling to get it the right size.
Any questions? Leave a comment or send me an email. Happy crafting!
Linked up: Tatertots & Jello
10.12.2011
Wooden Candy Corn Hanger
This autumn, I decided to try something different for my front door. And since my crafty friend Cami suggested that we make wooden candy corns, I thought it would be a perfect fit for new front-door decor.
We pretty much made it up as we went. The tools we used that made it all possible were my husband's fancy miter saw and cordless drill, my orbital sander, and a pair of pliers/wire cutters, not to mention our paintbrushes and such. For this project, we kept things simple and bought pre-primed 6" trim from Lowe's and just cut it to length.The bottom piece is 12", the middle piece is 9", and the top piece is 6". We cut each side on a 75 degree angle to meet up with the next piece(the measurement we used on the miter saw said 15 degrees, but it makes more sense to me to say it the other way). Then we drilled the holes for the wire and sanded all our edges. We used plain old acrylic craft paint to paint each piece. The colors ended up pretty bright, so I rubbed a little bit of stain over the top of the paint after the paint was dry to tone the colors down. Next, I wired all the pieces together, added some felt furniture pads to the back to keep it from scratching the door, and finally hung it up! We were able to pretty much finish this project up in a day.
Linked up: The CSI Project, Tatertots & Jello
EDIT: I made the top 10 in Krylon's painted Halloween projects challenge!
Labels:
autumn,
candy corn,
csi top ten,
door hanger,
fall,
halloween,
seasonal decor,
wooden
Subscribe to:
Posts (Atom)