Showing posts with label green. Show all posts

2.22.2012

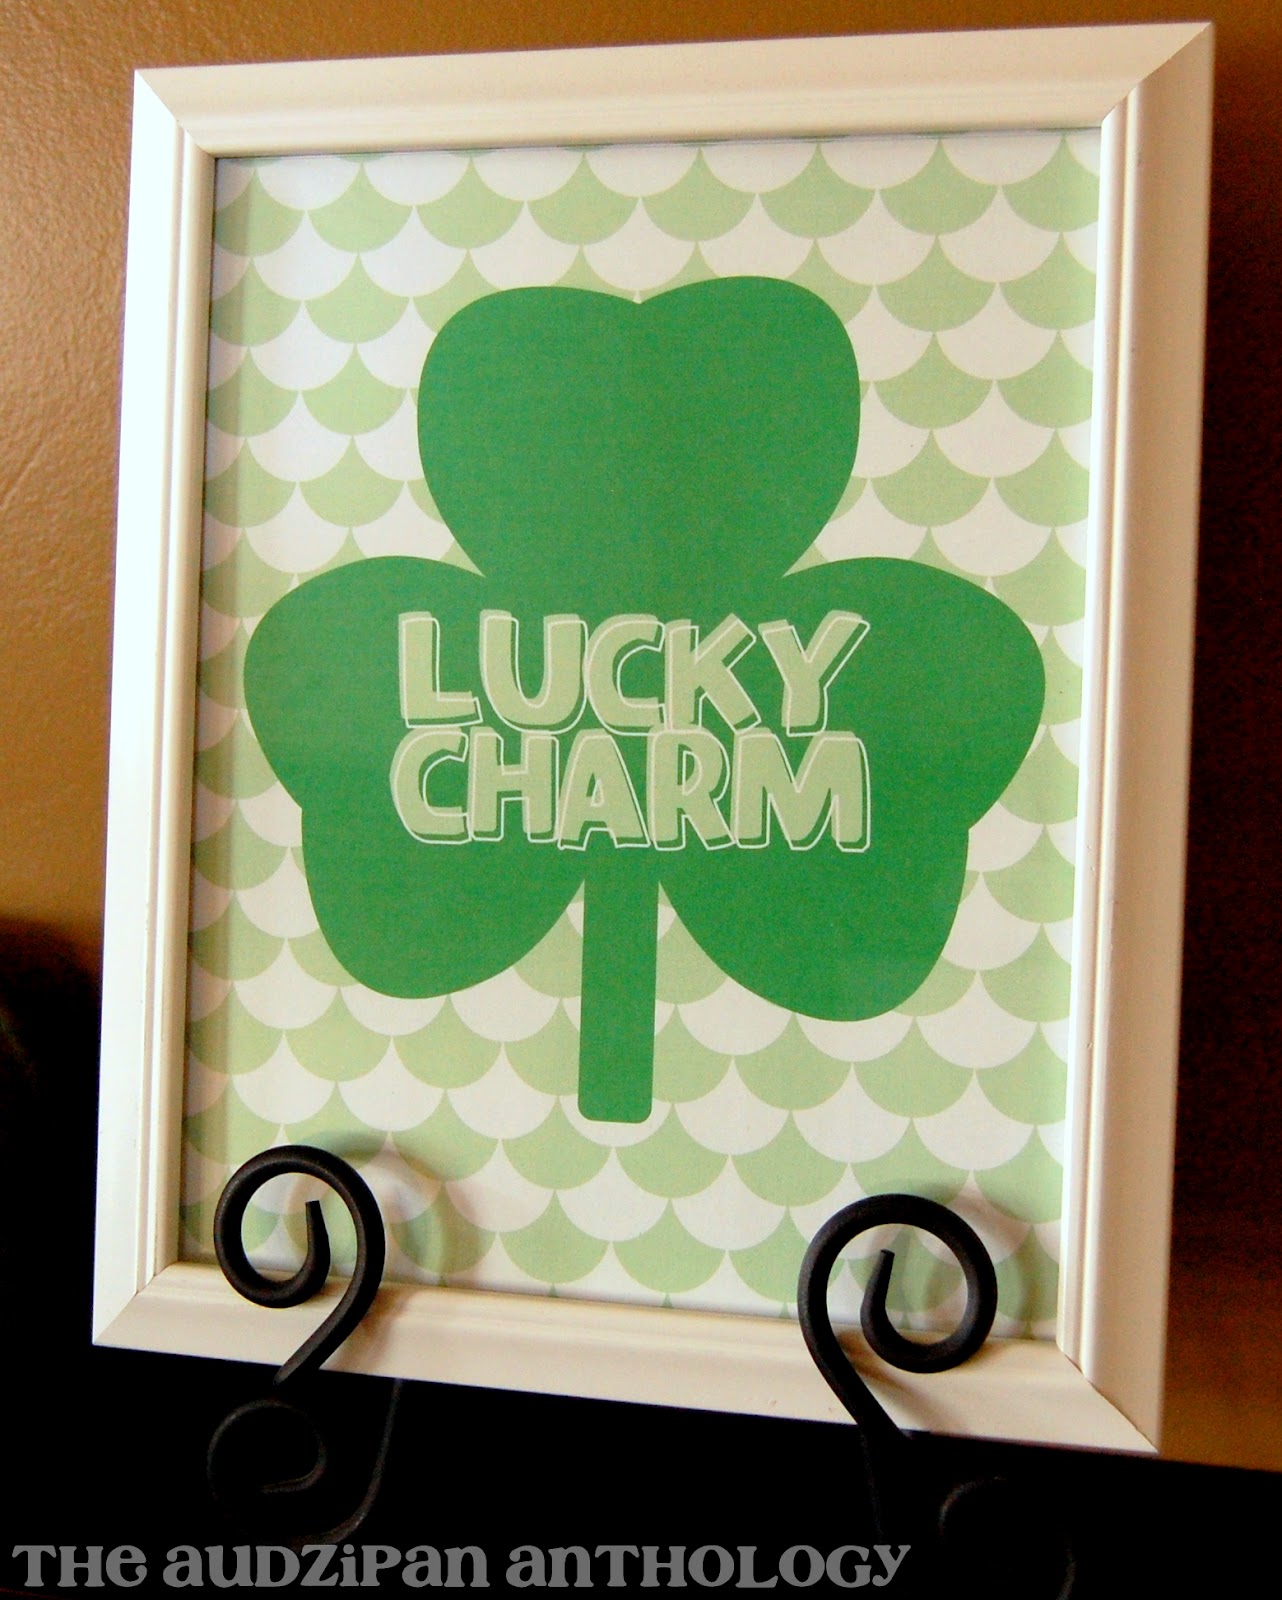
St. Patrick's Day Lucky Charm Printable

Pin It  
It's time again for the free printable of the month!  Everyone needs a lucky charm for St. Patrick's Day, and it doesn't get easier than this.  With the scalloped background, this one looks a lot better in a frame.  You can either get a document frame, or just grab an 8"x10" frame and trim the paper down, which is what I did.  I took 1/4" off each side and 1/2" off both the top and bottom to fit it in the frame.
As always, my printables are free, but please give credit where credit is due.  To download the printable, click on the image.  It will take you to a new page, where you can right-click and save the photo.  Then, just print the image the original size, and it will be ready for use.  You can frame it, put it in a tabletop easel, hang with clothespins, or whatever else you can come up with!  Any questions or requests?  Send me an email or just leave a comment.
I'm Lovin' It at TidyMom

2.15.2012

Yellow and Green Bird Birthday Cake

My oldest gal turned three last week, and when I asked her what she wanted for her party, she said a green bird cake and yellow balloons.  I had been wanting to try a tiered cake, so I figured this was the perfect time.  It was a little bit of an ordeal, but only because my Kitchenaid stalled on me while I was making the fondant!  It's not something that should happen with a stand mixer, but mine has always been a little bit wonky.  Which is sad, since I really like it otherwise.
I had to finish kneading the fondant by hand, which wasn't my favorite.  Since my mixer was overheated and I had scheduled myself so tightly on party prep, I had my husband pick up a giant tub of decorating icing from the store.  I usually make my own frosting for my cakes, but given the situation this was a great alternative.  The frosting was surprisingly tasty and creamy, and lots of people asked about it.  I piped it on as the polka dots on the green fondant ribbons and as the nest for the green fondant bird on top.

For support, I used bamboo skewers in the bottom layer.  I didn't do cardboard under the top layer, since it was only 6" rounds, but it did sink about a half an inch.  Next time, I will do both bamboo and cardboard for extra support.  I used this recipe for a beefed-up chocolate cake from a mix, and it was a huge hit as well.  The only thing that I did differently was to leave out the chocolate chips, since this cake was for little kids.  This recipe is a real keeper, though, and next time I will add the choco chips.  With the leftover batter, I also made a bunch of cupcakes, since I just can't help myself.
I made the cupcake toppers with the print and cut feature on my Silhouette.  I love that I can create my own design, print it out, and then cut the printed page.  And no, I don't get anything for saying that I love it (although I wouldn't turn it down. . .).  I ordered the cupcake liners, thinking they were greaseproof.  They were definitely not, but I just popped another one over them and they still looked super cute.


1.03.2012

Play Kitchen Redo

Anybody recognize this?  I posted the before photo of this play kitchen way back last summer.  I put off redoing it for a while, because I knew that it would be a bit of work and I wasn't sure what I wanted to do with it yet.  About a month before Christmas, I decided that it would make a great gift for my young daughters, along with some play kitchen accessories.  I had some leftover paint from the green stripes in my daughter's bird bedroom, my mother-in-law gave us the neato spoon and rolling pin drawer pulls, and my parents provided the metal bowl "sink", copper "faucet", and other knobs.  I already had all the supplies for the vinyl burners and utensil decals.  The only money we spent was on the toys to go along!

Once again, this is what I started with:
It was really in pretty good shape, just a little boring.  The drawers and some of the doors were stuck together, and one of the handles was missing.  Also, I don't know if you noticed, but the handles on the top doors were installed on the top instead of the bottom.
My brother helped me install the sink, which is a metal bowl that we set in the counter top and secured with screws.  I painted the whole thing with an angle brush and a mini roller, which gave it a really nice finish.  We only had five of the cool drawer pulls, so we had to find a sort-of matching pull at Lowe's.  I used my Silhouette to cut out the purple vinyl decals.  I just did a bunch of circles for the the burners and found an image online for the kitchen utensils.  I also did an "H" and "C" for the knobs by the faucet.
I really love how this turned out!  Both of my daughters (1 and almost 3) love playing with it.  The kitchen toy sets from IKEA fit perfectly, plus they got some other fun kitchen toys from our families.
 Thanks to everyone who helped get this together in time for Christmas-- my brother Clark, parents on both sides, and mostly my awesome husband Chris.  I've got him working on an Ana White headboard now.  It just needs some stain and clear coat, then we'll be ready to install!  Also, I am working on a new look for the blog for the new year.  Check out the watermark on the photos in this post for a little preview.

12.31.2011

Slate Bathroom

Our penultimate stop on the tour takes us to the basement bathroom.  Even though we bought our house new, it was a spec. home and everything had already been picked out by the time we found it.  We mostly love it, but there are a few things we would have changed, one of those being the bathroom counters, hardware, and tile.  This is the only bathroom in the house where we got to choose everything.
We also did everything ourselves, from the plumbing to tiling.  We got pretty much everything from Lowe's, including the cabinets from the allen + roth line.  The cabinet I loved wasn't big enough for our space (which we didn't realize until later), so we came up with a solution to fit it in where we built these shelves in next to the cabinet and tiled them with slate.
I loved the look of the green glass mosaic tile, but we couldn't afford to buy much of it.  To make the most of what we did get, we cut the 12" tiles into thirds and ran a stripe through the slate tile in the shower and as the backsplash above the counter.  I love the continuity it gives the room.
Everything came together so well for this room.  Now it just need some finishing touches and some towels!  Next and final stop on the home tour- playroom/guest room.