Showing posts with label hair clip. Show all posts

5.04.2012

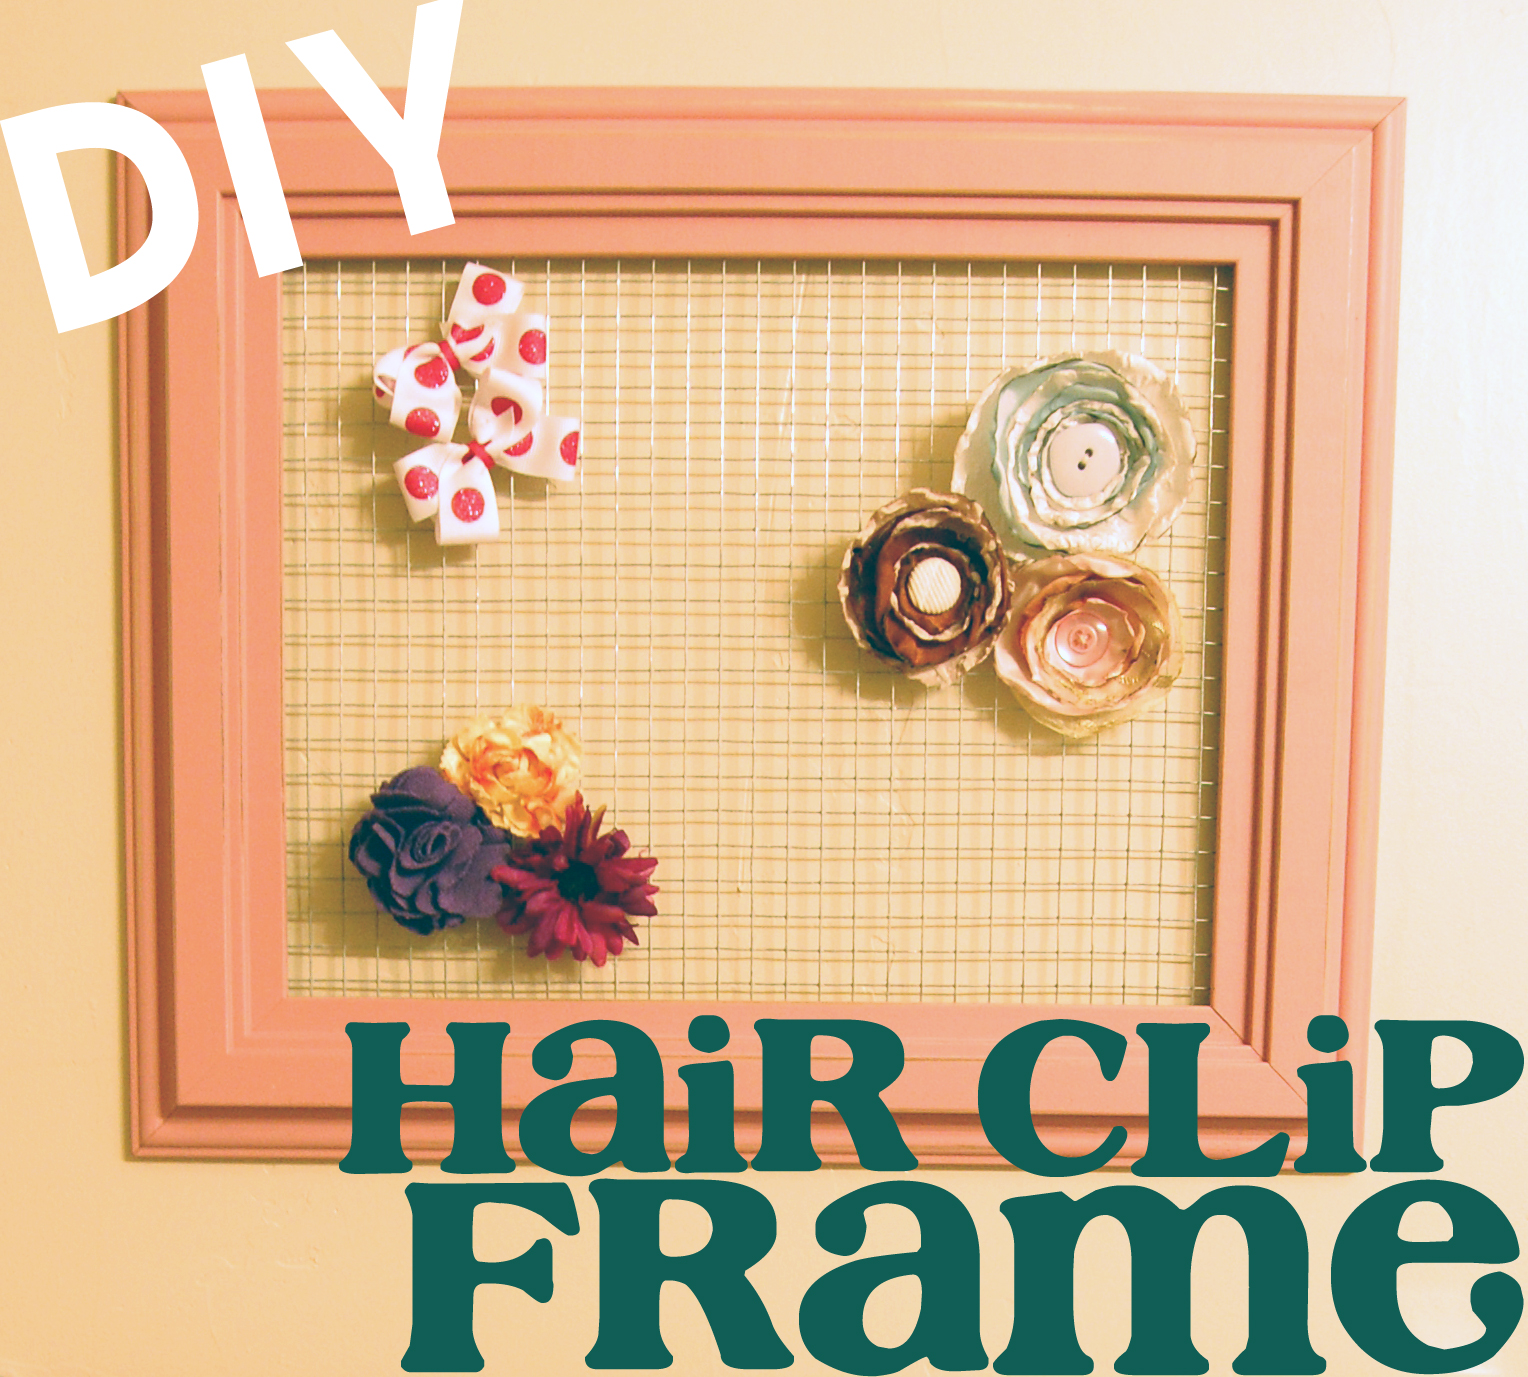
DIY Hair Clip or Earring Frame

Today, I'm going to share a simple and fun tutorial for keeping all your girly things organized.  If your house is anything like mine, every little bit helps!  We already have the hair clip tree in the girls' bathroom, but as our collection of bows has grown, the tree has been all filled up and we need more storage.  This follows the same sort of method as my reclaimed barnwood earring holder, so if you don't need hair clip storage, you could make this for your earrings instead.
 For this project, you will need four basic items:
  • Large empty frame
  • Welded wire fencing
  • Staple gun
  • Tin snips or wire cutters
I had the frame already, but any frame will work.  Just take the glass and backing out and you are ready to go.  The welded wire fencing is from Lowe's.  At our store it is located in the garden area next to the chicken wire, and it comes in rolls.  I just picked the one with the size of square I wanted-- not so big that I wouldn't be able to hang much, but not so small that I couldn't get the clips to go in the holes.  It's really up to you.

Okay, to get started, flip your empty frame over onto your workspace so the back is facing you.  Without doing any cutting yet, lay your wire mesh in the frame where the glass sits and fit two of the sides in.  At this point you can either secure it with a staple, or if your frame has metal tabs to hold the back in, just bend those down over the top of the mesh, like so.
Now, grab those tin snips or wire cutters and cut the other two sides to size, making sure that the mesh stays put while you cut.
If the wire is poking your hands or otherwise bothering you, just roll it up as you go.  For me, it makes it that much easier to cut.
Once all the wire is cut and fitted into your frame, get your staple gun and get to work.  If you can staple your mesh into the wood without the staples coming out of the front of the frame, do that.  My frame wasn't thick enough, so I used my staples in a different way.
My handheld staple gun never seems to get the staple all the way in, so I just stapled above the mesh all the way around and bent the staples down with a hammer to hold the mesh in.  It seems to work just fine.   Like I said, if you can figure out a way to staple your wire in better, definitely do that.  Your other option is to cut the mesh bigger than your frame opening and staple it on the back of the frame.  I didn't like the look of that, and because the mesh will sit against the wall when the frame is hung, I don't think you could hang anything on it.
We hung it in the kids' bathroom above the towel rack.  I think it looks great, and I'm so glad to have more storage that is cute and accessible.  Plus, the kids can't reach it yet, so it stays just how I left it.
All in all, I'd say you could easily do this in under an hour once you have all the supplies and tools ready.  The My Memories digital scrapbooking software giveaway ends Sunday night, and the winner will be announced on Monday.  Have a great weekend!
Linked: Six Sisters' Stuff, Classy Clutter, Tatertots and Jello

2.01.2012

Felt Flower Grapevine Wreath

As some of you know, I have this grapevine wreath that I got with a plan to reincarnate it all the time.  It's been a fall wreath and a winter wreath chandelier, then it took a break in my closet for about a year.  During that time, I tried out some other kinds of wreaths and door decor, like the tulle wreath, candy corn hanger, and red feather wreath.
Here it is again!  It's about time I busted this thing out.  This go-round, I was going for a more season-neutral theme, to a point.  I didn't want something that I would necessarily have to take down because a certain season just ended, but I also don't plan to leave it up all year.

While I was making these felt flowers, I thought that some of them would make really cute hair clips for my girls.  So, in the spirit of interchangeable wreath, I just put each flower on its own clip, so now I can rearrange the flowers and use them as hair clips when we're ready to switch things out again.  I can also switch out the color scheme very easily.
I found a bunch of super easy tutorials for the flowers from Craftiness is not Optional.  I used the rolled felt flowers, scalloped mini flowers, and the layered felt flowers.  I also threw in a simple spiral flower, similar to the ones I did on the modern baby shoes.

Another thing that I added to the wreath that you can't see in the photo is a felt lining on the back.  This is the only wreath I have that scratches my front door's paint, so I cut one-inch strips of black felt and hot glued them all the way around the wreath on the back, so they created a big circle.  It's great, because now I don't wince every time someone opens the door!
I was pleasantly surprised at the easiness of this project.  Seriously, felt is so forgiving, and I was able to do all of these in one day.  I recommend using wool felt.  It is much thicker, looks higher-end, and comes in so many cool colors.  I found mine at a quilt shop.  All I needed was about four sheets of felt, a glue gun, and some hair clips to make these (all of which I had on-hand).  These flowers would make great accents to girls' headbands or even as a gift bow.
Linked up: Tatertots & Jello 

10.06.2011

Simple Hairbow Tutorial

It's here!  The Simple Hairbow Tutorial, with printable templates!  I hope you're as excited as I am about this.

Here's what you'll want to have on hand to make this project go quickly.
-Ribbon
-Glue gun
-Needle and thread
-Candle for singeing ribbon ends
-Scissors
-Hair clips (I got mine at a beauty supply store in bulk)
-Hairbow template
Just click on the image, print without scaling, and cut your templates out.  You can either print it on cardstock; or print on normal paper, cut the templates out, trace them onto cardboard (I used a cereal box for mine) and cut that out.  It's fun to experiment with the different template sizes and different ribbon sizes.

Okay, let's get started.  Begin by wrapping your ribbon around the template, securing the end with a clip.
Wrap around the template in a spiral, keeping the ribbon close but not overlapping.  Go around one more time than loops you want the bow to have.  So, if you want three loops on each side, wrap four times.  You will end on the opposite side that you started on.
Cut your ribbon and secure the other end with another clip.
Now you will begin sewing.  Don't worry, it's not too complicated, and it's not even going to show.  Do your best to stay in the middle, so your loops will be evenly spaced.
I like to go through the middle of the ribbon on each side.
At this point, you are done with the template, so remove the clips and slide the ribbon off the end.
Slowly cinch up the ribbon on the thread, being careful to not let your knot slip through.  Bunch the ribbon up how you want the bow to look.
Once you are happy with how everything looks, wrap the thread around the bow, sew through all the layers a couple of times, and tie your thread off.
Trim the ends of your ribbon a little bit, maybe at a fancy angle, then light that candle and singe the ends so they won't fray.
I'm all about the fancy angle.  Now we need to hide that thread!  Take another piece of ribbon and hot glue it to the back of the bow.
Wrap the ribbon all the way around, cut it off, and glue the other end down.
Bow, done.  Now for the clip.  I like to cover my clips in ribbon, at least on the top.  This gives you somewhere to glue the bow without gluing the clip together.
Once your clip is covered in ribbon, just dab some glue onto the back of the bow.
Don't do too much, or else it will spill out the sides and look crappy.  And nobody wants crappy bows.
Woo!  Look at those lovely things.  Now find yourself a head of hair to stick 'em on.
Linked up: Tatertots and Jello

7.27.2011

Hair Clip Tree Tutorial

First off, I have to admit that the idea for this hair clip tree was not originally mine.  This is just my version of it.  I first got the idea from my sister-in-law, Jenny, who is responsible for all my girls' cute hair accessories.  This is how she displays her clips at crafts shows and in her studio.  Do you want to make one, too?  They are super quick and easy.  Here is what you will need.
  • A basket, pot, vase, or other container
  • Floral foam
  • Hot glue gun
  • Moss or something else to cover the foam
  • Sticks (I got a big bundle from IKEA)
  • Scissors
First, cut your foam to fit inside your container.  I used a big kitchen knife with great results.
Glue the foam to the bottom of the container for increased stability.  Next, cut your sticks to length, if necessary.  Put each stick in the foam and make adjustments until you are pleased with the arrangement.
I didn't glue each stick into the foam, but if you want to, now is the time.  When you're done with the sticks, grab your foam cover.  I found it easiest to put the glue down in the foam first, then push the moss down on top.
Once your moss is covered, clip all your flowers, bows, and such to your tree and place on the bathroom counter, on top of a dresser, or wherever you like.
Now all my daughters' cute, girly hair clips can double as my bathroom decor!
 Linked up: TT&J

3.15.2010

Stacked Hair Clips

Today I am divulging the secrets of my latest project, the Stacked Hair Clip! This tutorial is super easy, cheap, and really fun. Since it requires tiny scraps of fabric, this project is a great way to coordinate accessories with any clothing that you have made for your little girls. To make your own stacked hair clips, here's what you will need:
-Fabric Scissors
-Needle and thread that matches your fabric or button
-Pierced snap clips (I found mine at my local craft store, Robert's)
-Glue Gun
-Two matching fabrics
-One color of felt that matches your fabric

For the fabric covered button, you can either find one already made that matches, use a regular colored button that matches, or if you want to make your own, here is what you need:
-Button press
-Button front and back pieces
-White fabric for interfacing (Muslin works very well)
-One of your matching fabrics

Step One: Making Your Covered Button
Using your button fabric pattern (this will come with a button-making kit), cut out a circle of fabric from both the matching fabric and the white interfacing muslin. The interfacing will keep the metal of the button front from peeking through your patterned fabric.Layer your fabric, interfacing, and button front and fit into the bottom of the button press. Tuck all your ends in, place the button back over it, and press the blue top part of the press down firmly. Sometimes I have to use a hammer for this part. Remove your button from the press, and your button is ready to go.

Step Two: Making Your Felt and Fabric Stack
Cut a circle that is just bigger than your button out of the felt, then a larger circle out of your other fabric, then another largest circle out of the felt again. I cut notches out of the biggest circle to add a fun edge.
Thread your needle and stack your felt and fabrics how you want them to look.
Start with your needle going into the top of the stack, since this part will be covered up by the button. Go back and forth a few times to make sure everything is secure.

Step Three: Sewing on the Snap Clip
Place your snap clip in the center of the back of the stack, and sew through the pierced top of the clip until you feel it is secure. Tie your end off on the top of the stack, which is the same side as your beginning knot.

Step Four: Glue the Button in Place
Fill the back of your covered button with hot glue and press firmly in place on top of your felt. Let it cool, and your clip is ready to go!Experiment with the sizes of the felt and fabric circles to get a different look. The bigger the circles get, the more they will look like flowers. Smaller circles remind me of old-fashioned ladies' hats.
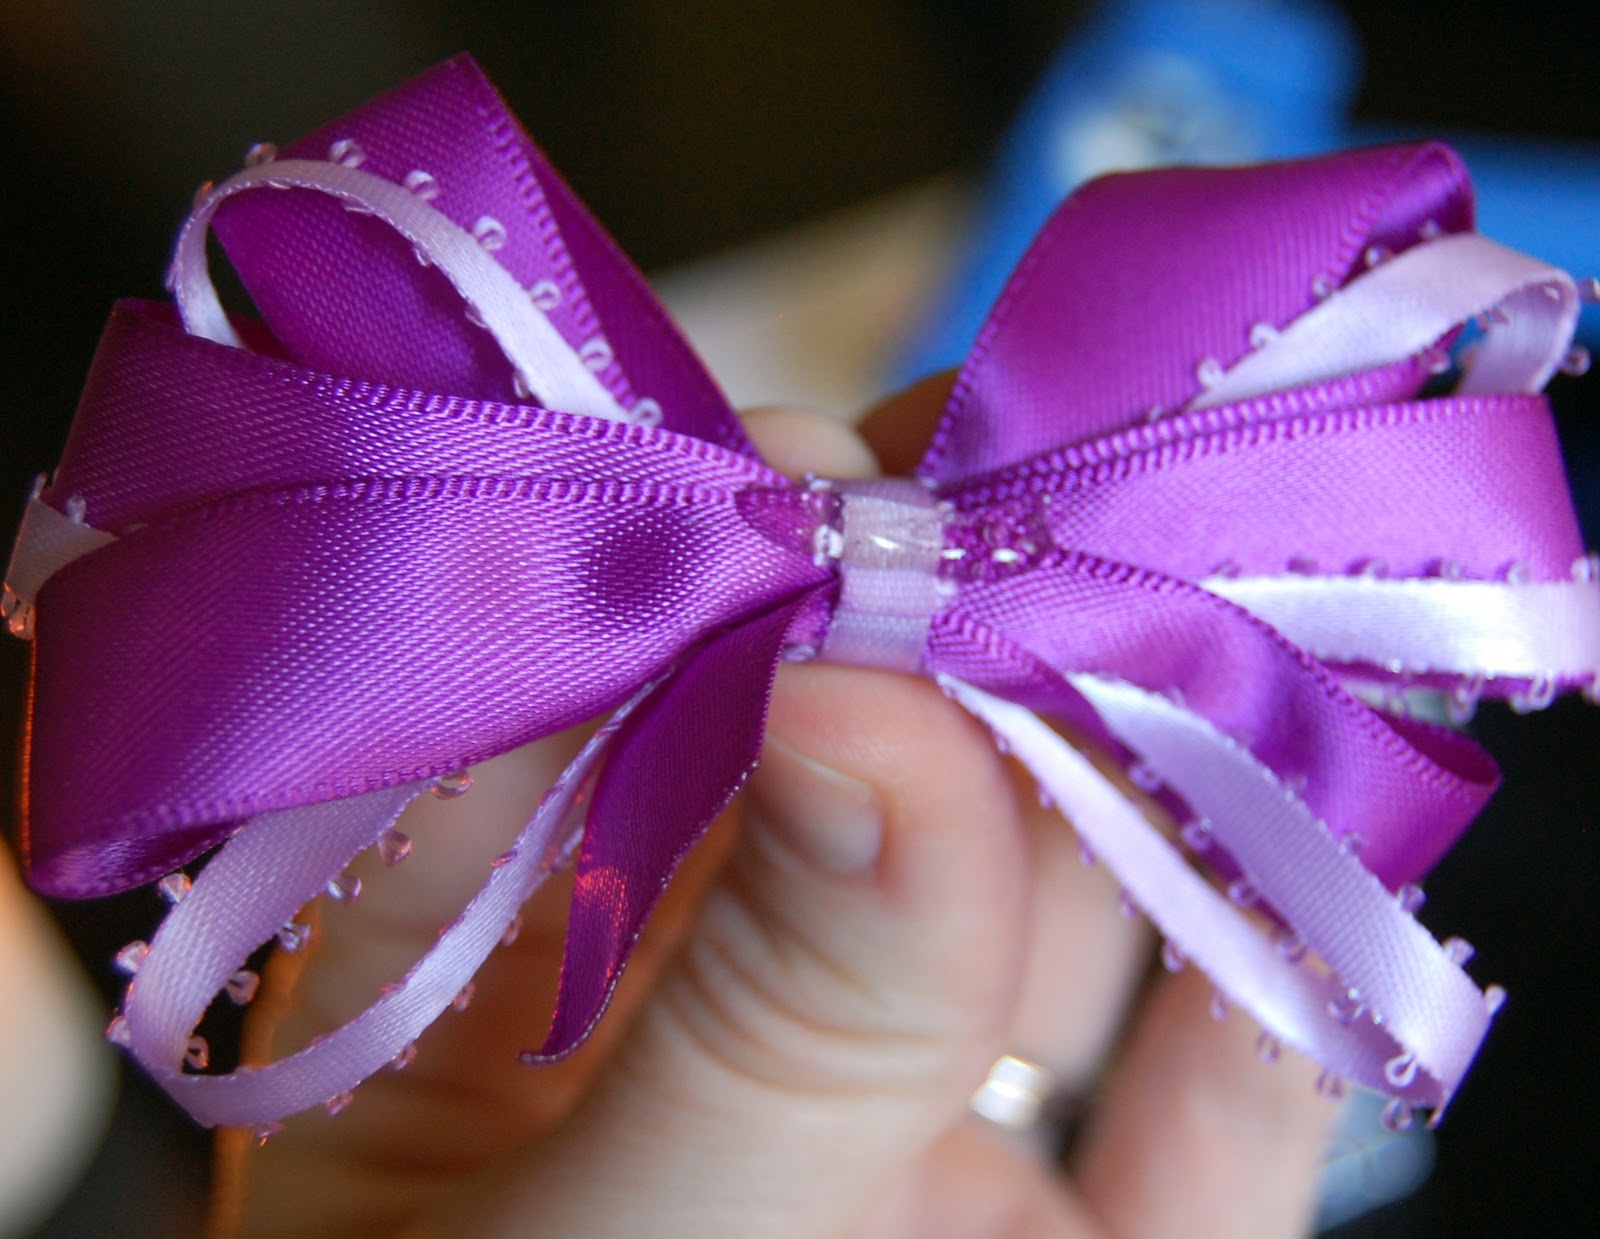
For the green clips, I used scraps from a spring dress that my mom made for my daughter and her cousin, and now I have a perfectly matching accessories that hardly cost me anything.