Showing posts with label how to. Show all posts

5.04.2012

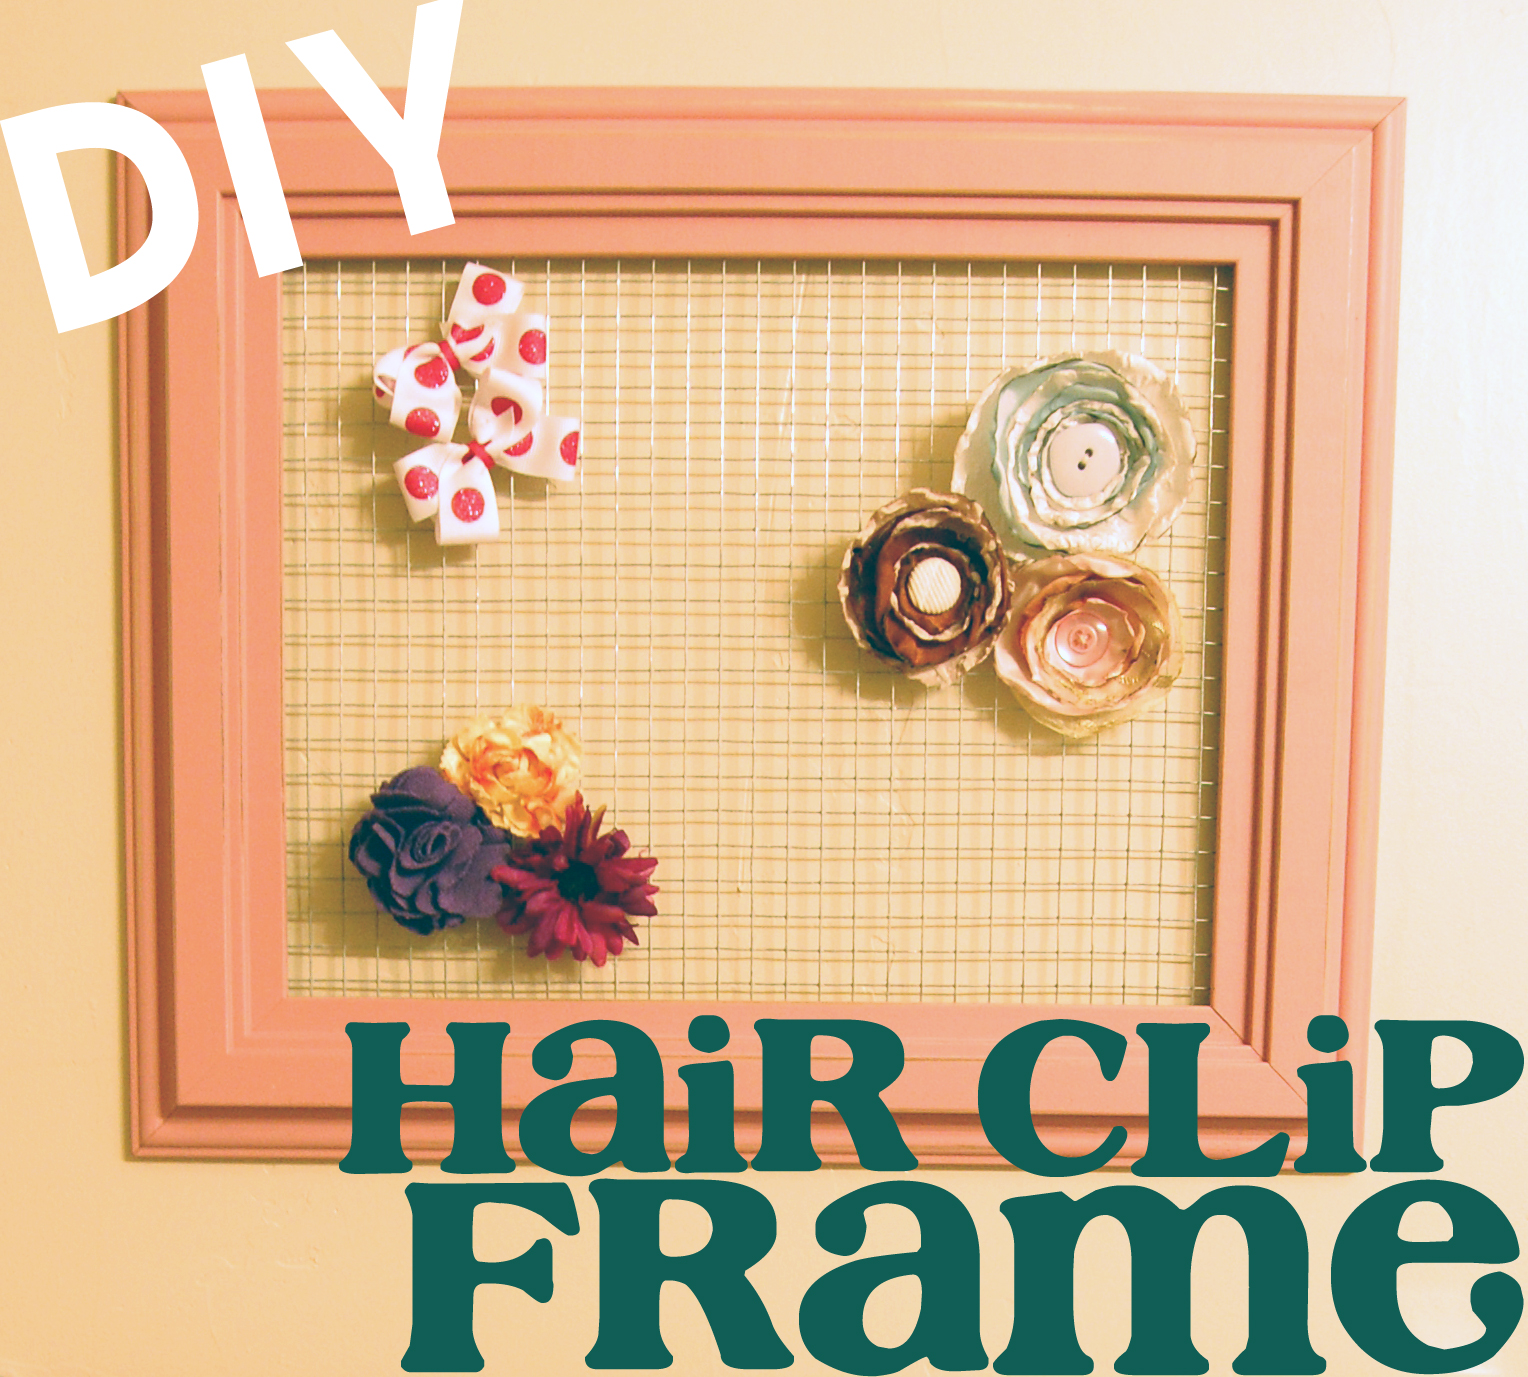
DIY Hair Clip or Earring Frame

Today, I'm going to share a simple and fun tutorial for keeping all your girly things organized.  If your house is anything like mine, every little bit helps!  We already have the hair clip tree in the girls' bathroom, but as our collection of bows has grown, the tree has been all filled up and we need more storage.  This follows the same sort of method as my reclaimed barnwood earring holder, so if you don't need hair clip storage, you could make this for your earrings instead.
 For this project, you will need four basic items:
  • Large empty frame
  • Welded wire fencing
  • Staple gun
  • Tin snips or wire cutters
I had the frame already, but any frame will work.  Just take the glass and backing out and you are ready to go.  The welded wire fencing is from Lowe's.  At our store it is located in the garden area next to the chicken wire, and it comes in rolls.  I just picked the one with the size of square I wanted-- not so big that I wouldn't be able to hang much, but not so small that I couldn't get the clips to go in the holes.  It's really up to you.

Okay, to get started, flip your empty frame over onto your workspace so the back is facing you.  Without doing any cutting yet, lay your wire mesh in the frame where the glass sits and fit two of the sides in.  At this point you can either secure it with a staple, or if your frame has metal tabs to hold the back in, just bend those down over the top of the mesh, like so.
Now, grab those tin snips or wire cutters and cut the other two sides to size, making sure that the mesh stays put while you cut.
If the wire is poking your hands or otherwise bothering you, just roll it up as you go.  For me, it makes it that much easier to cut.
Once all the wire is cut and fitted into your frame, get your staple gun and get to work.  If you can staple your mesh into the wood without the staples coming out of the front of the frame, do that.  My frame wasn't thick enough, so I used my staples in a different way.
My handheld staple gun never seems to get the staple all the way in, so I just stapled above the mesh all the way around and bent the staples down with a hammer to hold the mesh in.  It seems to work just fine.   Like I said, if you can figure out a way to staple your wire in better, definitely do that.  Your other option is to cut the mesh bigger than your frame opening and staple it on the back of the frame.  I didn't like the look of that, and because the mesh will sit against the wall when the frame is hung, I don't think you could hang anything on it.
We hung it in the kids' bathroom above the towel rack.  I think it looks great, and I'm so glad to have more storage that is cute and accessible.  Plus, the kids can't reach it yet, so it stays just how I left it.
All in all, I'd say you could easily do this in under an hour once you have all the supplies and tools ready.  The My Memories digital scrapbooking software giveaway ends Sunday night, and the winner will be announced on Monday.  Have a great weekend!
Linked: Six Sisters' Stuff, Classy Clutter, Tatertots and Jello

1.17.2012

Red Feather Valentine's Wreath Tutorial

Ready to glam up your Valentine's Day decor?  I've got the perfect project for you.  It's fancy, easy, fairly inexpensive, and a little bit unusual-- the Red Feather Wreath.  This was a project that my mom did first, then I followed her creative lead (and used her leftover feathers).  I ended up having everything else I needed for this wreath, so it cost me nothing!  

Here's what you will need, besides a few hours and a little bit of patience.
-Wreath form.  You can really use any kind, since you will be covering it up.  I had an extra styrofoam form in my closet.
-Red fabric.  I used five 2-3" strips, so you should be good with about 1/2 a yard.
-Red feathers.  Mine are from Hobby Lobby, and I used two packages.
-Glue gun
-Ribbon for hanging.

First step, cut your fabric into 2-3" strips if you haven't already.  Plug your glue gun in, and get wrapping those strips around the wreath form, gluing as you go.
You don't have to do a perfect job, as you will be covering it up anyway, but you do want to make sure that everything is glued down tight so you have a solid base to work with.
Now comes the fun part!  Starting on the inside, glue your feathers down in a staggered row, like this:
*This part is very important!!  Glue each feather along the bottom half of the stem only.  This will allow you to finish the wreath when you have glued feathers all the way around the form.  Following your first staggered feather line, glue feathers overlapping the stems about halfway.

When you get all the way around (you will get there faster on the inside of the wreath), slide the stems underneath the feathers that are already there and glue in place.  Since each feather has only been glued down halfway, you should easily be able to fill any other holes you might have where you can see the fabric underneath.
I just love the feather texture!  If you don't want to hang this, you can just stop at this point and be done.  This wreath would make a great centerpiece with a big glass jar of Valentine's candy in the middle, or with whatever else you have that is round.
If you do want to hang it, grab your ribbon.  I just did a giant loop of ribbon and tied it in a knot.  Since I have a hook on the inside of my pantry door, I put the ribbon over the top of the door and hooked it around the loop, like so:
If you don't have a setup like this, just do the ribbon loop smaller and tie a knot where you want it to hang on the wall, like I did with my Halloween tulle wreath.
I'm loving this wreath so much that I am tempted to make another one in brown for the fall!  I also thought that a couple of little white doves would be a cute addition, but I haven't found any yet.  I probably won't change it, though, because I like the simplicity of the feathers, and the texture is already so interesting.

Also, here's a little announcement that I already made on Facebook:  Since I received such an overwhelming response on my Valentine's Subway Art Printable, I will be doing at least one free printable on the blog per month.  If you have any requests for themes, quotes, art, etc. that you would like to see in a printable, leave me a comment or send me an email.  Most of the printables will probably be seasonal, but I'd love to hear what trends you would like to see.
Linked up: Tatertots and Jello, Michelle Paige

9.12.2011

White Chocolate Cheesecake

I made this cheesecake for my white-chocolate-loving husband's birthday.  It may have been my best cheesecake yet!  I didn't have any cracks in the top, and the middle wasn't too soft like last time.  The recipe I used needed some tweaking, so I ended up with my own creation in the end.  I also tried a white chocolate ganache for the topping, which didn't act quite like I was expecting.  It was a lot runnier than a normal chocolate ganache, so I think it may need more white chocolate than cream.  It was still quite tasty, though, and it added a nice white chocolate flavor, as the cheesecake itself doesn't have a strong white chocolate taste.  Here is my version of the white chocolate cheesecake, complete with low-fat cream cheese!

White Chocolate Cheesecake
(adapted by me from Food.com)

Crust:
2 c. graham cracker crumbs
1/4 c. melted butter

Filling:
10 oz. white chocolate
4 (8 oz.) packages of low-fat cream cheese, softened*
1/2 c. plus 2 T. sugar
4 eggs
2 egg yolks
6 T. flour
1 T. vanilla

Ganache Topping:
8 oz. white chocolate
8 oz. heavy cream

Preheat oven to 300 degrees.  Blend graham cracker crumbs and melted butter and press lightly onto the bottom and sides of a spring-form pan.  To make the filling, melt the white chocolate and stir until smooth.  Beat softened cream cheese until light and fluffy, then add in the sugar.  Add the eggs and egg yolks one at a time, beating well in between.  Add the flour and vanilla, stirring until combined well.  Add the melted chocolate in a slow stream while beating the mixture, until everything is smoothly combined.  Pour into prepared crust, sprinkling more white chocolate chips in if desired.  Bake for one hour for 10 inch pans (70 minutes for 9 inch pans) or until top is firm to the touch.  Turn the oven off and leave cheesecake in the closed oven for another 1/2 hour.  Allow cheesecake to cool completely before covering loosely and refrigerating overnight.

To add the ganache topping, microwave chocolate and cream in 30-second intervals, stirring between, until all the chocolate is melted and the ganache is smooth.  Allow the topping to cool, then pour over cooled cheesecake.  Refrigerate until serving.

*Note: If you want to use regular cream cheese, reduce flour to 2 T.
Linked up: Tatertots & Jello

5.09.2011

Tea Staining Tutorial

Tea stain is the simplest way to make something look old, soften stark white or bright colors, or learn to do some simple and safe dyeing at home.  I love to do tea stain.  It's so easy and fast!  I use tea stain to dye pure white muslin for printing my basil, fern, poppy and Scarborough Fair wooden blocks.  I also brushed tea onto my IKEA lampshade and ended up with some very neat patterns after the tea dried.  Here's a closer shot of the lampshade.
I have taken this lamp to craft shows, and people just love it.  I even had someone offer to buy it, but I love it so much that I had to say no.

Okay, enough talk!  Onto the tutorial.  Here's what you will need:
  • Black or Pekoe teabags
  • Fabric to be dyed (Must be made from 100% natural fibers*)
  • Vinegar
*Synthetic fibers are made from plastic, which will not accept dyes after they have been made.

I printed up a batch of shirts for my family's reunion coming up this weekend, and the only color we could get for my daughter's bodysuit was much brighter than the rest of the shirts.  I decided that a tea stain would tone down the brightness a bit and help it fit with the rest of the shirts a bit better. 
To begin, boil up enough water to fully immerse your piece of fabric.  I usually just eyeball it.  While the water is boiling, rinse your fabric out in the sink to remove any chemical residues.
I flipped the shirt inside out, since I wanted to make sure the printing didn't get messed up in the dryer after the staining.  After the water is boiling, you can remove it from heat and add your teabags.  I used six, but you will want to use more if your fabric is larger.  
Allow the tea to steep for 5-10 minutes.  At this point, you can either remove the teabags, or leave them in there.  If you leave the bags in, it will give your fabric a splotchy look, with darker spots nearest the bags.  I did this with my wooden blocks, but with this shirt, I removed the bags.  Add your fabric to the pot and push it down into the tea with a spoon.
Leave the fabric in the tea for about ten minutes, agitating every couple of minutes, then check the color.  Keep in mind that the fabric won't be as dark when it has dried.  If you want it darker, leave it in longer.  When you are pleased with the color, rinse your fabric out again in the sink.  
After it's all rinsed out, chuck it in the dryer with a bunch of towels that you don't care too much about.  There are chances that they can get a little stain on them during the dry, but I didn't have any trouble with that.  Once it's dry, check the color.  If you want it darker, you can stick it back in the tea and do it all again.  If you like it, you can soak it in a vinegar-water solution(1 tsp. vinegar to 1 gallon water) to set the color, or just go with it and the color may or may not fade with subsequent washings.
All done!  This would be a great project to do with kids.  I'll have to get a photo of my girl in her shirt at the reunion and add it later to show you how it looks with the rest of the shirts.