Today, I'm going to share a simple and fun tutorial for keeping all your girly things organized. If your house is anything like mine, every little bit helps! We already have the
hair clip tree in the girls' bathroom, but as our collection of bows has grown, the tree has been all filled up and we need more storage. This follows the same sort of method as my
reclaimed barnwood earring holder, so if you don't need hair clip storage, you could make this for your earrings instead.
For this project, you will need four basic items:
- Large empty frame
- Welded wire fencing
- Staple gun
- Tin snips or wire cutters
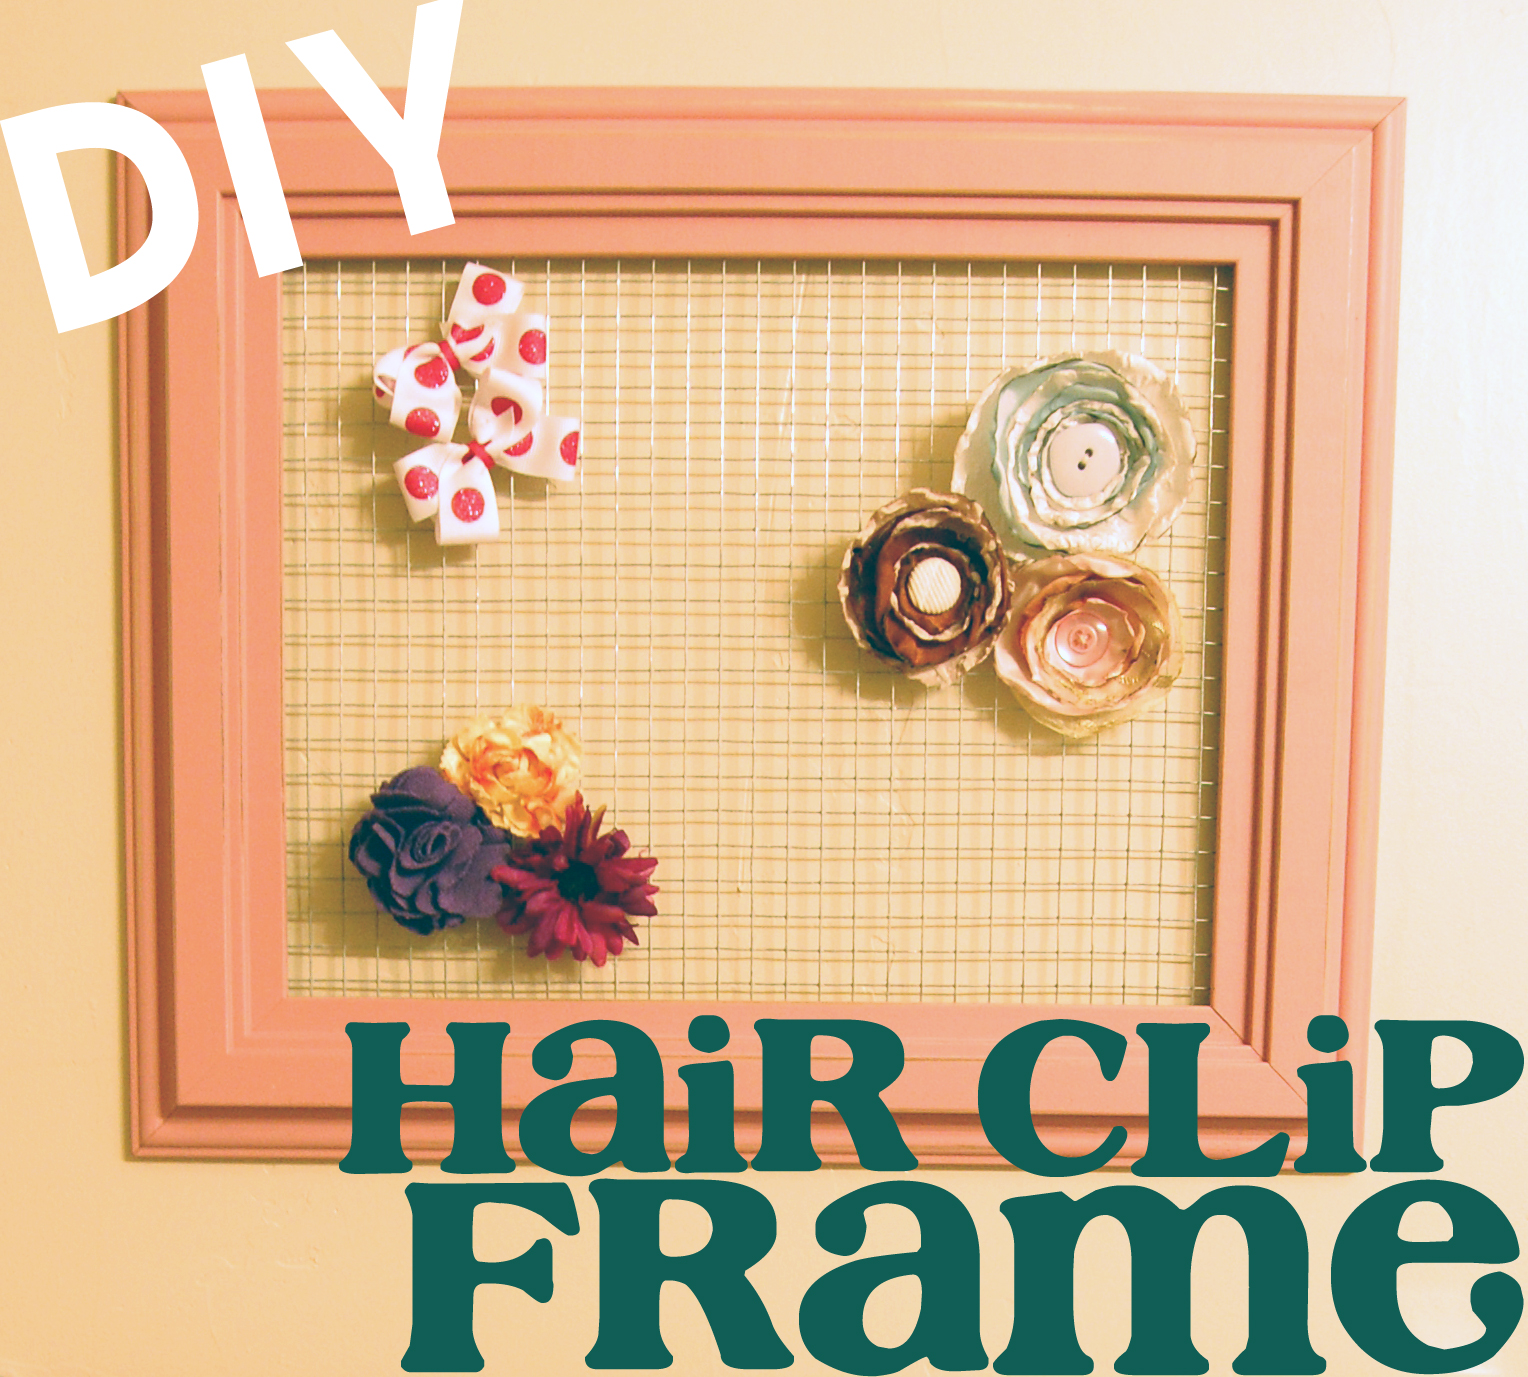
I had the frame already, but any frame will work. Just take the glass and backing out and you are ready to go. The welded wire fencing is from Lowe's. At our store it is located in the garden area next to the chicken wire, and it comes in rolls. I just picked the one with the size of square I wanted-- not so big that I wouldn't be able to hang much, but not so small that I couldn't get the clips to go in the holes. It's really up to you.
Okay, to get started, flip your empty frame over onto your workspace so the back is facing you. Without doing any cutting yet, lay your wire mesh in the frame where the glass sits and fit two of the sides in. At this point you can either secure it with a staple, or if your frame has metal tabs to hold the back in, just bend those down over the top of the mesh, like so.
Now, grab those tin snips or wire cutters and cut the other two sides to size, making sure that the mesh stays put while you cut.
If the wire is poking your hands or otherwise bothering you, just roll it up as you go. For me, it makes it that much easier to cut.
Once all the wire is cut and fitted into your frame, get your staple gun and get to work. If you can staple your mesh into the wood without the staples coming out of the front of the frame, do that. My frame wasn't thick enough, so I used my staples in a different way.
My handheld staple gun never seems to get the staple all the way in, so I just stapled above the mesh all the way around and bent the staples down with a hammer to hold the mesh in. It seems to work just fine. Like I said, if you can figure out a way to staple your wire in better, definitely do that. Your other option is to cut the mesh bigger than your frame opening and staple it on the back of the frame. I didn't like the look of that, and because the mesh will sit against the wall when the frame is hung, I don't think you could hang anything on it.
We hung it in the kids' bathroom above the towel rack. I think it looks great, and I'm so glad to have more storage that is cute and accessible. Plus, the kids can't reach it yet, so it stays just how I left it.
All in all, I'd say you could easily do this in under an hour once you have all the supplies and tools ready. The
My Memories digital scrapbooking software giveaway ends Sunday night, and the winner will be announced on Monday. Have a great weekend!
Linked: Six Sisters' Stuff, Classy Clutter, Tatertots and Jello


3 comments:
That it is super cute! I love the look of it.
What a cute and clever idea!! I will be thinking of doing this for our granddaughter! Thanks. Your newest follower. I hope you'll visit back. ~Zuni
Your hair clip frame is adorable!! We're so glad you joined us for "Strut Your Stuff Saturday." Thanks and come back soon!! -The Sisters
Post a Comment