3.30.2010

Easy Taco Soup

Wow!  Busy week last week.  Here's a recipe that I absolutely love to do when I am strapped for time.  

Easy Taco Soup
1 can tomato soup
1 can kernel corn
1 can chili
leftover taco meat (if you have any)
shredded cheese
sour cream
Fritos Scoops chips

Mix the three cans (I usually do half of the water from the corn and an extra can of water for the tomato soup) and the meat if you have it in a saucepan.  Heat until steaming.  Top with shredded cheese, sour cream, and Fritos.  Enjoy!

Next time I make it I will add a photo.

3.23.2010

Rainbow Cupcakes

I saw this recipe demonstrated on Studio 5 (our local morning show) and thought it was worth reposting.  I got the recipe from Mindika Moments, but it seems that she originally got it from Our Best Bites.

CREAM CHEESE VANILLA CUPCAKES
8 ounces cream cheese (about 1 cup), softened
2 egg whites
1/4 cup vegetable oil
1 box white cake mix
1 cup water
1 t. vanilla

1. Preheat the oven to 350 degrees F. Line two 12 count muffin tins with paper liners.
2. In a large bowl combine the cream cheese, egg whites and vegetable oil. Using a hand mixer, beat the ingredients until combined and creamy.
3. Add the cake mix, water and vanilla and mix until smooth, about 3 minutes.
4. Fill the muffin cups to just below the rim and bake until puffed and golden, about 18 to 20 minutes.
5. Remove from the oven, let cool slightly in the tin then transfer the cupcakes to a wire rack.
6. When cook, frost with vanilla butter cream frosting (recipe below) or your favorite frosting.

VANILLA BUTTER CREAM FROSTING
(Mindika Moments Original)

1 C. butter softened (2 sticks)
2 lb. powdered sugar
1/4 + C. milk
1-2 t. vanilla

1. In a mixing bowl combine the butter, vanilla and powdered sugar. Mix, starting slow, until somewhat combined.
2. Start by adding 1/4 C. milk and mix. Slowly add more milk, one or two tablespoons at a time, until the frosting reaches your desired consistency*.

*For cupcakes and cake you want the frosting to be a little thicker, so it holds it's shape. If you are using the frosting cookies, Cinnamon rolls etc...you may want the frosting a little thinner. 
If you want to see this recipe demonstrated, click here to see the video.  She will show you how to do the different colors, which is the most important part of the recipe!  She also added some extra tips and tricks that she didn't have time to talk about on the show.  I am super excited to try this recipe out!  I am thinking I will make some Easter cupcakes to share with our family.

3.18.2010

Latest Messenger Bag

Well, I was going to post about my most recently listed item today. . . but it already sold!  That was seriously the fastest I have ever sold an item on Etsy.  I will share a photo with you anyway, since I am planning on making another one this week.

I also have another project in the works.  I can tell you that it involves tea towels.  And it will be lots of fun.  Look for tea towels soon!

3.16.2010

Creating a Beautiful Kitchen, Part Four

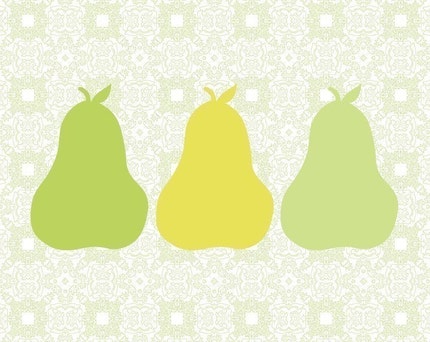
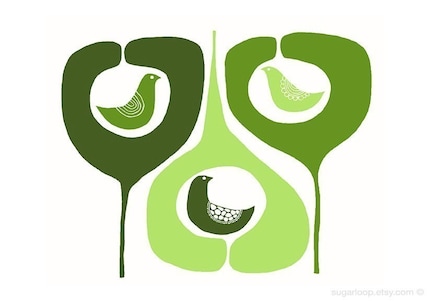
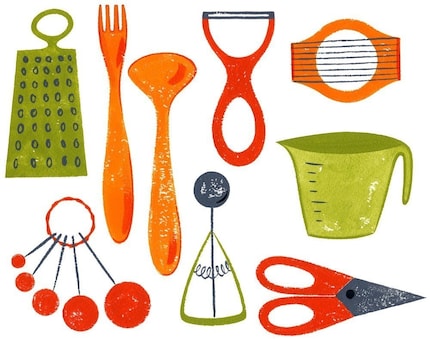
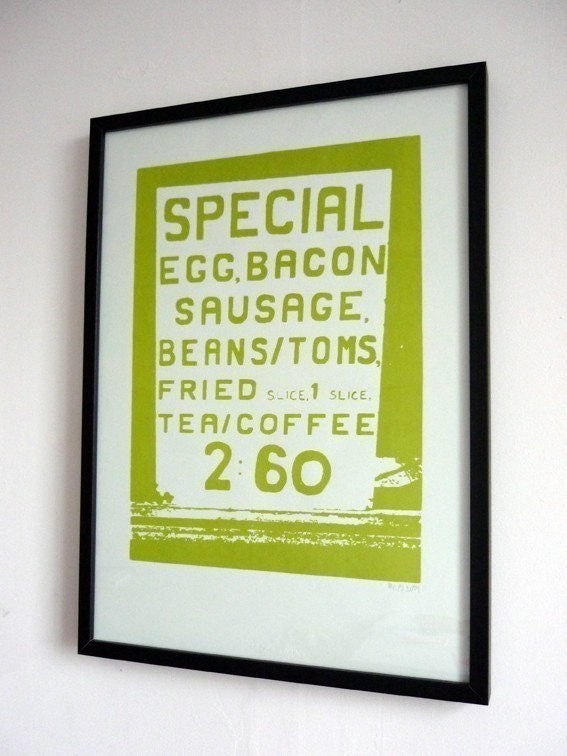
I have started looking around for some inspiration for my new art for the dining area of the kitchen.  Here is what I have found so far.  Click on the links below the photos to see where I found them:

So that's what I'm working with for now.  I like the green and yellow on white theme.  I'm still not sure how it will turn out, but it's a start!

3.15.2010

Stacked Hair Clips

Today I am divulging the secrets of my latest project, the Stacked Hair Clip! This tutorial is super easy, cheap, and really fun. Since it requires tiny scraps of fabric, this project is a great way to coordinate accessories with any clothing that you have made for your little girls. To make your own stacked hair clips, here's what you will need:
-Fabric Scissors
-Needle and thread that matches your fabric or button
-Pierced snap clips (I found mine at my local craft store, Robert's)
-Glue Gun
-Two matching fabrics
-One color of felt that matches your fabric

For the fabric covered button, you can either find one already made that matches, use a regular colored button that matches, or if you want to make your own, here is what you need:
-Button press
-Button front and back pieces
-White fabric for interfacing (Muslin works very well)
-One of your matching fabrics

Step One: Making Your Covered Button
Using your button fabric pattern (this will come with a button-making kit), cut out a circle of fabric from both the matching fabric and the white interfacing muslin. The interfacing will keep the metal of the button front from peeking through your patterned fabric.Layer your fabric, interfacing, and button front and fit into the bottom of the button press. Tuck all your ends in, place the button back over it, and press the blue top part of the press down firmly. Sometimes I have to use a hammer for this part. Remove your button from the press, and your button is ready to go.

Step Two: Making Your Felt and Fabric Stack
Cut a circle that is just bigger than your button out of the felt, then a larger circle out of your other fabric, then another largest circle out of the felt again. I cut notches out of the biggest circle to add a fun edge.
Thread your needle and stack your felt and fabrics how you want them to look.
Start with your needle going into the top of the stack, since this part will be covered up by the button. Go back and forth a few times to make sure everything is secure.

Step Three: Sewing on the Snap Clip
Place your snap clip in the center of the back of the stack, and sew through the pierced top of the clip until you feel it is secure. Tie your end off on the top of the stack, which is the same side as your beginning knot.

Step Four: Glue the Button in Place
Fill the back of your covered button with hot glue and press firmly in place on top of your felt. Let it cool, and your clip is ready to go!Experiment with the sizes of the felt and fabric circles to get a different look. The bigger the circles get, the more they will look like flowers. Smaller circles remind me of old-fashioned ladies' hats.

For the green clips, I used scraps from a spring dress that my mom made for my daughter and her cousin, and now I have a perfectly matching accessories that hardly cost me anything.

3.11.2010

Kitchen Paint and Cabinet Decor

Ta-da! The kitchen painting is done. I also acquired some pieces for above the cabinets, some from the store and others from around the house. I am amazed at how much of a difference it makes to have stuff up there. It feels so much better! I love the lemons up top, and they really tie in with my artwork and my pale yellow Kitchen-Aid. Above the cabinets, you will also see some tin pieces, green ceramic canisters, a cream vase, a brown wooden sign, and juniper garland.

Here's the before shot just to remind everyone how boring this kitchen used to look:
Here are the after shots:


I am still considering doing new artwork for the dining wall, as well as some wooden spoons or something above the stove or next to the pantry door. Here is the updated list of things I want to do for the kitchen:
  • Paint
  • Figure out some kind of decor for above the cabinets
  • Get my linens coordinated/pared down
  • Find some new wall decor
  • Organize the counter tops
  • Finding a new dining table/chairs or (most likely) redoing the current ones
Here are a few things I would like to add to the list now that I am further into the project:
  • Get some great new centerpieces
  • Find or make a new tablecloth
  • Organize the top of the island
So far I am loving what I have done.  It is already hard to imagine it how it used to look.  I am thinking I will probably start on the artwork/wall decor and island organization next.  Next Tuesday, I will post some artwork inspiration photos, and we'll go from there.

3.10.2010

Blogger Mashup: Blog It Forward

Today is my day to participate in the Blog It Forward project run by SFGirlbyBay.

The topic: What inspires me?

Ok, honestly, I think this is a loaded question. Start thinking about it for too long, and your list will never, ever, ever end. Ever.

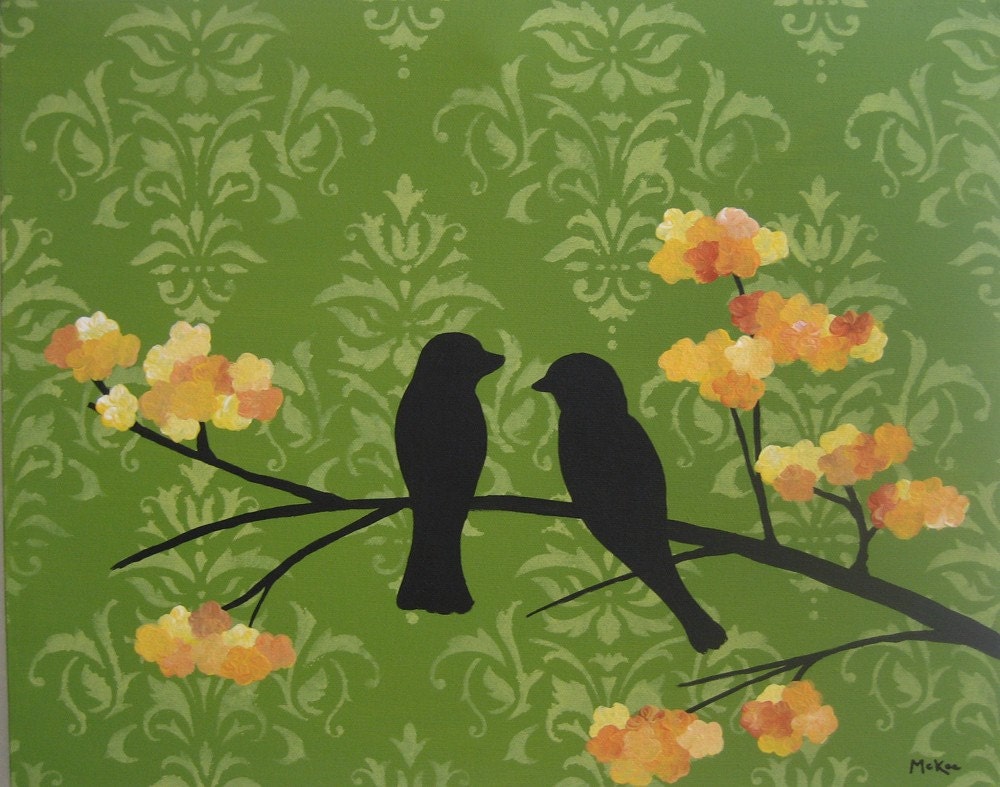
With that said, I would like to share with you some of my current muses. Here's my virtual inspiration board:
This guy.
Couldn't do any of this without his support. Thanks, Chris, for being the most inspiring husband ever.
This gal.
She is the funniest, most surprising, and hilarious little thing.
This room.
This is one of those projects where everything went right from the get-go. I love to spend time in my girl's nursery, and I can tell that I keep it a lot cleaner.
This birdcage.
Have always loved it, and the stack of books is also conveniently protected from my girl.
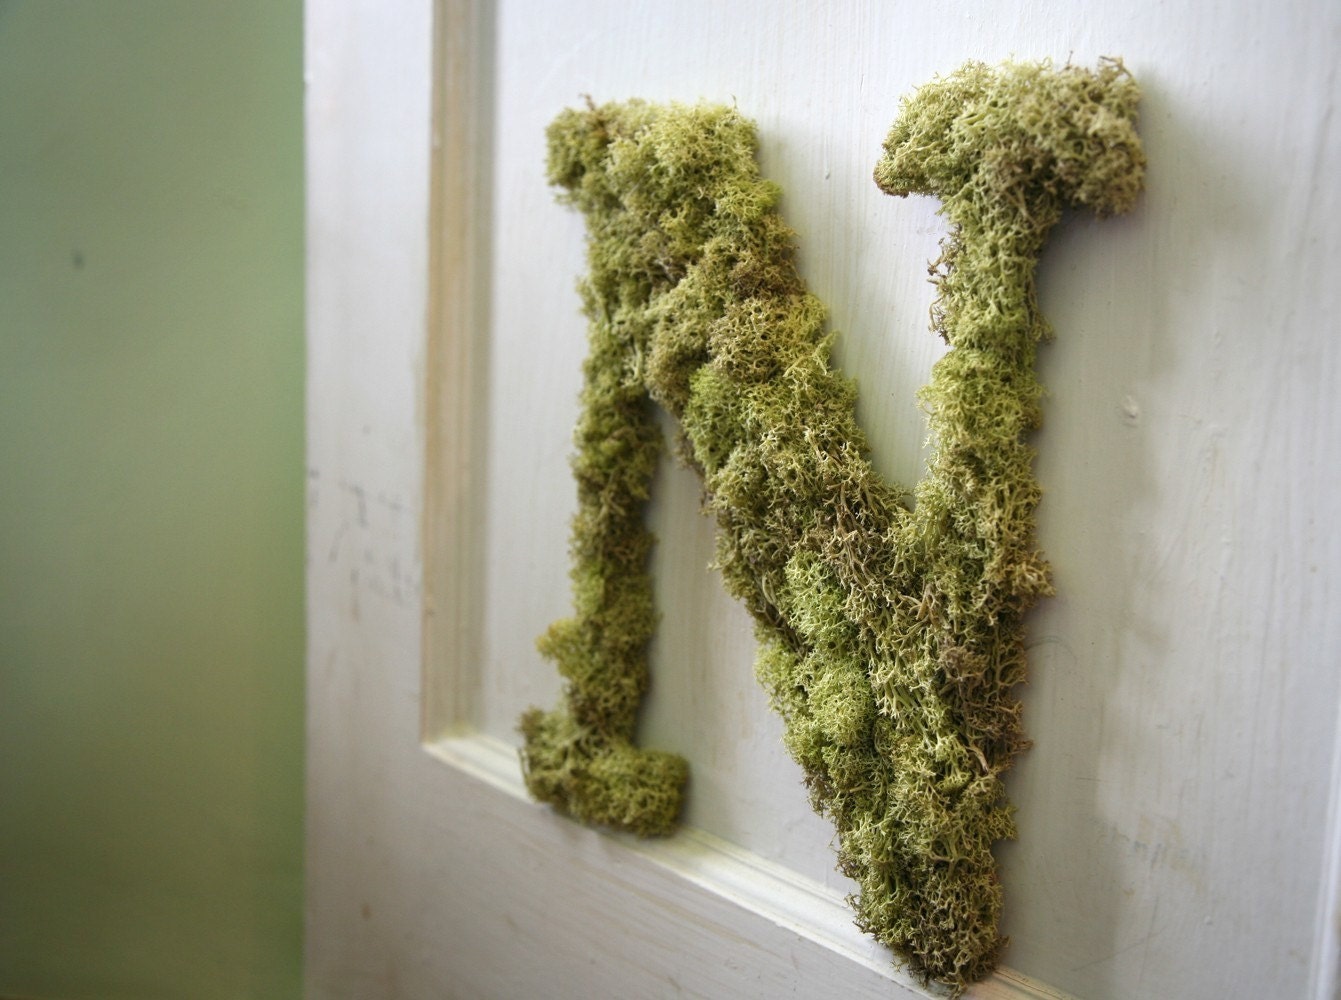
Moss.
Totally in love. Totally. Found this moss letter here at Simple Sweet Design.
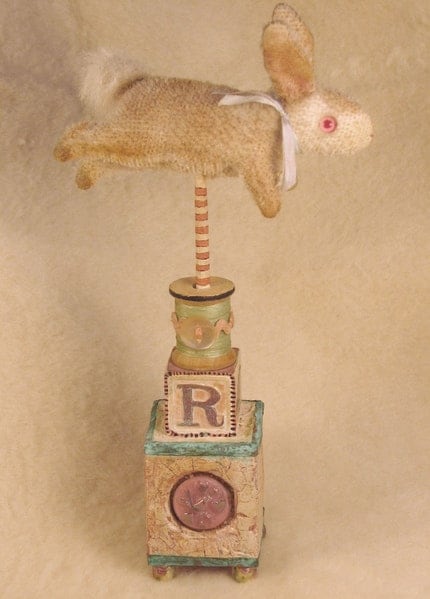
Vintage Easter.
Found this rabbit at Toad Briar.
Peonies.
Love them. Get this print at Amelia Kay Photography. Also, (spoiler alert!) one of my new screens is based on some peony photos that I took. So this is totally current.

I try to keep a real bulletin board updated in my craft room, but I have such a hard time keeping that room clean that I hardly ever get a chance to mix it up, and my crafty mag supply is seriously lacking as of late.

But never fear! I am working on cleaning out the craft room, hoping to turn it into somewhere that I can work on craft and entertain my daughter at the same time. Progress is being made.

Also, rumors exist that the dear husband of mine is subscribing me to fresh crafty mags. Steps are being taken to get the ball rolling on that. . .

Stop by Atoms at Work to see yesterday's post and Automatism to see tomorrow's Blogger Mashup from Group 1.

3.09.2010

Sorry for the Delay. . .

So. . . It's Tuesday.

No, I didn't post the pictures of my finished kitchen. Why? I didn't take them. My family took an unexpected, but totally needed, day trip and we didn't get back until dark.

The trip was awesome. I looked for a chandelier at some discount shops (no luck this time), ate some great barbeque, had some even greater ice cream for dessert, and visited old friends.

The good news: I had a great time. I really needed the break.

The bad news: No kitchen photos today.

The good news again: I will put them up this Thursday so you won't have to wait until next week!

Why not tomorrow? Well, my friends, tomorrow is my turn in the Great Blogger Mashup of 2010, hosted by SFGirlbyBay! So look for that, look for kitchen photos, and most of all, keep looking!

3.08.2010

Hanging Flower Balls

Ok, I saw this great tutorial for Hanging Flower Balls (scroll down; it's the last half of the post) over at Tatertots and Jello and just knew I had to put it up here.  It is originally from Shelley at House of Smith's.

The flowers are made from crepe paper, but I was thinking that you could also do them out of fabric, like these ones at Little Birdie Secrets:
I think these balls would make great decor for a kid's room, either hanging or sitting in a bowl. You could also do earth tone colors and use them for year round decor in any room! I am excited to try making these flowers.

I am experimenting making hair clips for my daughter. If I get it all figured out, I will post the tutorial for next week. So far, the project involves fabric-covered buttons, snap clips, felt, and a glue gun.

Also, check in tomorrow to see the completed paint in my kitchen! Hint: It looks fabulous.

3.04.2010

New Tabs Up Top

I have added a couple of new features to the blog. Underneath the header, you will find tabs that will take you to different parts of the blog. I now have quick-access pages for Tutorials and Recipes.

Also, if you look to the right, you will see that I have added a search bar for the blog.

Hope you enjoy these new features!

3.03.2010

Long-Sleeved Robot Shirts and A Design Revelation

First off, I would just like to let everyone know that the Long-Sleeved Kids Robot Tees are almost sold out. These are the quantities and sizes still available:
24M- 2 left
3T- 1 left
4T- 1 left
5T's are sold out

Secondly, I will not be making any more of this shirt. I realize that I have been trying to accommodate every person's every desire and have every size of every shirt always available. The truth is that I am not a factory. And I don't want to be one.

Most of the designs currently in my shop will be retired this spring. All of the inventory that I still have will be sold, but then no more. I want to make new designs!
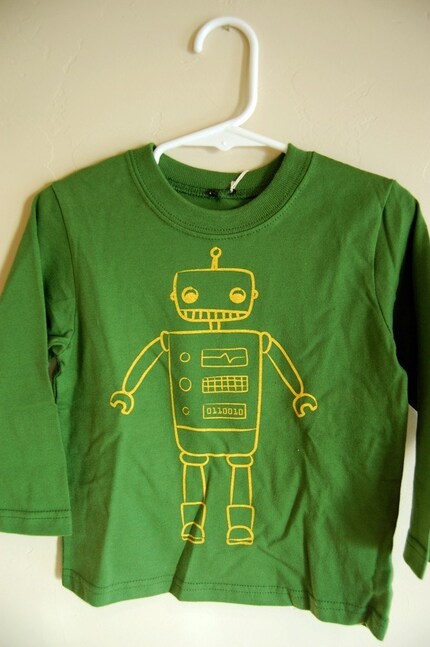
I think I will probably hold onto the crest screens for a while, since they were done more recently, and I still haven't had a chance to print any apparel with them. I might keep the robot, since it is so popular. But I am thinking of making a new screen and turning it into a two-color print.

These designs will be washed out: Cherry Blossoms, Grass, Craft Tools, and "Home". Once these designs are sold out, they may never be printed again.

I am looking forward to a new set of designs. I hope you are too. Any requests?

3.02.2010

Creating a Beautiful Kitchen, Part Two


Here's the update on our painting so far. We have coated the dining area twice, but there are still a few spots that need another coat. The pantry door area has one coat, and we still need to do around the cabinets and behind the stove and fridge. I love how it is looking!

All of the photos of accessories that I posted last week are clickable to get to where I found them. So just click on the photo, and it will take you there!

No, I don't actually own any of those items, but I am hoping to get the terrarium or one very similar for Mother's Day.

Hoping, but mostly hinting. Lots of hinting.

3.01.2010

Moss and Aspen Decor Egg

I have had this prototype egg listed in my Etsy shop for a while. I really, really like it. I am kind of tempted to take it down and just keep it for myself. . . But enough about me.

Today I am going to share the tips and tricks for making your very own Moss and Aspen Decor Egg.

First, here's a list of what you will need:
-Styrofoam Egg
-Preserved Moss Sheets (can be found in the floral section of a craft store)
-Decorative Excelsior Wood Fibers (can be found in the floral section of a craft store)
-Glue Gun
-Scissors

Optional items:
-Tissue paper
-Mod Podge
-Brown or neutral paint

Let's Begin!

1. This step is optional, but I think it adds a touch of completeness to the egg. First, Papier mache the egg with tissue paper and Mod Podge. Once that dries, painted the egg brown. This will keep any of the white styrofoam from peeking out past the moss and aspen.

2. Cut your moss sheet into two circles, and enough strips to make three stripes around the egg. Separate a few of the aspen fibers and twist together into four longish rope. You are now ready to begin gluing.

3. Start on one end of the egg by gluing one of your circles down. Next, wrap one of the aspen ropes around the egg so it fits snugly against the moss circle. Tuck the two ends into each other so it makes a complete circle. Pull the wood away enough to fit your glue gun beneath, and dab some glue down to tack your wood fibers down all the way around the egg.

4. Glue your moss strips down in a band around the egg snugly against the wood.

5. Repeat until you get to the other end, then glue your other moss circle down.
6. You are done! Now you have a wonderfully original natural decor piece to welcome Spring to your home.